Junk Journal have become so popular in the world of papercrafts. The reason that paper crafters love them is that they can create artful pages while recycling "junk" into something new and creative. It is a journal that holds you recycled materials, thoughts and memories.
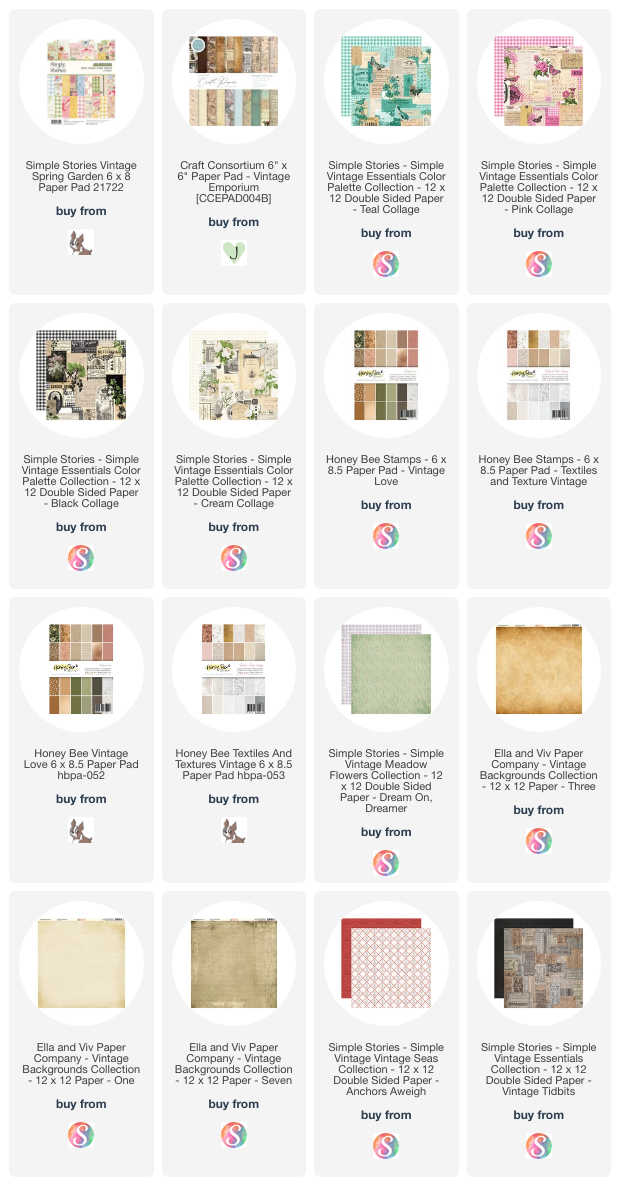
We have added some supplies and products to enhance your junk journal experience. Our collection of vintage paper will help you create amazing junk journal pages!
So, we are still having fun using the stencil from Altenew. But this time we are adding an extra element to the mix. We have added iridescent glitter to the card and then used the watercolors to give some extra definition and shine to the project.
Unlike the card in Part 1 of this tutorial, we are using glitter. Instead of "repelling" the watercolors, the color is absorbed into the glitter. When it is dry, you get color with a glittery effect that is stunning.
You can use any watercolors you have, but in this case, quality can make a difference. The better watercolors have more pigment in them, so the color in the end result will be more vivid.
So, today we are talking about some creative coloring techniques that will add some texture and color to all of your greeting cards. Although it is considered an advanced technique. you can create these cards with a little practice.
We have two different techniques for you in this series.
Part 1 has the stencil with embossing paster as the medium. It used a white embossing powder which is then colored with watercolors. This has a grungier look.
Part 2 uses the same stencil, with embossing paste, but this time we are using iridescent glitter instead of embossing powder. This one has a totally different look as the watercolors soak into the glitter.
All of the cards that we are showing today use a single stencil with some variation in the materials and colors used. The stencil that we used is the Mega Bloom Stencil from Altenew. This stencil has a lot of detail and makes a definite statement no matter where you choose to use it/ Yes, it is terrific on a card, but it would also be useful on a scrapbook or a journal page too.
This technique uses watercolors. Not to worry if you have not had much experience with watercolors in the past. This is a fun way to gain more experience with them. You can use whatever watercolors that you may have. But you will get better color with a better-quality watercolor set as there is more pigment in them. Use whatever you have and give it ago.
Both techniques use embossing paste as the base for the stencil application. You will want to use a good quality embossing paste. I really like the Altenew paste because of the fact that it is creamy and spreads very easily.
We have two techniques for you to try. Each of them is unique in its own way. You may like one over the other, but I urge you to give both a shot and decide for yourself.
Technique One-Embossing Paste With Watercolors
Featuring
Mega Bloom Stencil
Cardstock-90-110 lbs.
Watercolor paper
Watercolor brush pen
Watercolor pan set
Blue cardstock
Embossing paste
White translucent embossing powder
Palette knife
Craft sheet or parchment paper.
Low tack tape
Dark Blue gems or sequins
Altenew Fancy Greetings sentiment stamp
Water filled spray bottle.
Double sided tape
Foam tape
Lay the parchment paper or craft mat on your workspace. Since this is a wet technique, you will need to cover the and protect your workspace.
Cut the watercolor paper to size if you are not using precut watercolor panels.
Lay the watercolor paper on top of the workspace.
Lay the stencil on top of the watercolor paper.
Use the low tack tape to secure the stencil to the paper.
Using the palette knife, apply the embossing paste to the stencil. This is a large stencil that covers almost all of the paper. You will need to concentrate on making sure that you get the embossing paste in all of the nooks and crannies. And make sure that you get a very even coat of the paste. Cover the entire panel.
Place any left-over embossing paste back into the jar and place the lid back on securely to minimize any drying of the paste.
Remove the stencil. Make sure to wash both the stencil and the palette knife as soon as possible with warm water and mild dish detergent.
Cover the flower, while wet with the embossing powder. Tap any loose powder off and replace it to the jar.
Allow the paste with the embossing powder to air dry. Once it is partially dry, heat set it on your heat tools lowest setting underneath the paper, until the embossing powder is set.
Once dry, spray the panel with water. Give it a good generous spritz.
Add water to the watercolor pan colors that you are using. You want to use both a lighter and a darker color.
While the panel is still wet, apply the watercolors with from your pans. You will see that the watercolors will flow beautifully. They will fill into spots where the embossing powder may not have set. So, in essence, you cannot make a mistake on this card.
Once you are happy with the color and the pattern, set it aside to dry.
Create a card base in the size desired with the white cardstock.
I used a panel of dark blue on top of the card base to contrast the colors in my watercolor panel.
Use double sided tape to adhere the watercolor base to the card base.
Stamp a sentiment. I used white cardstock and mounted it on the same dark blue paper.
Then I mounted that to the watercolor panel with foam tape.
Finally, add some sequins or gems to the card in any desired pattern.
If you heat set the embossing paste while it is wet, more than likely you will get some bubbling. If you are ok with that, go for that look.
If you use a heat tool, make sure to keep the tool from being too close to the paper. You will not want to scorch it from being too close. Allways make sure to keep moving the heat tool over the project. That way you will get better results.
Pre heat your heat tool before you apply it to your paper. Preheat it at the lowest setting for about a minute or two.
Always cool off your heat tool before putting it away.
Use a good quality watercolor set. The better-quality sets will give you more pigment and a more vibrant color.
I hope that you have the opportunity to give this technique a try. There are so many color variations, that are possible, you will find that you will want to give more of them a try.
We always love hearing your thoughts, comments and ideas. Please drop a line or two at the bottom of the page. We always respond to any of our subscribers. Thanks for dropping by.
Till nest time, Happy Crafting!
Linda
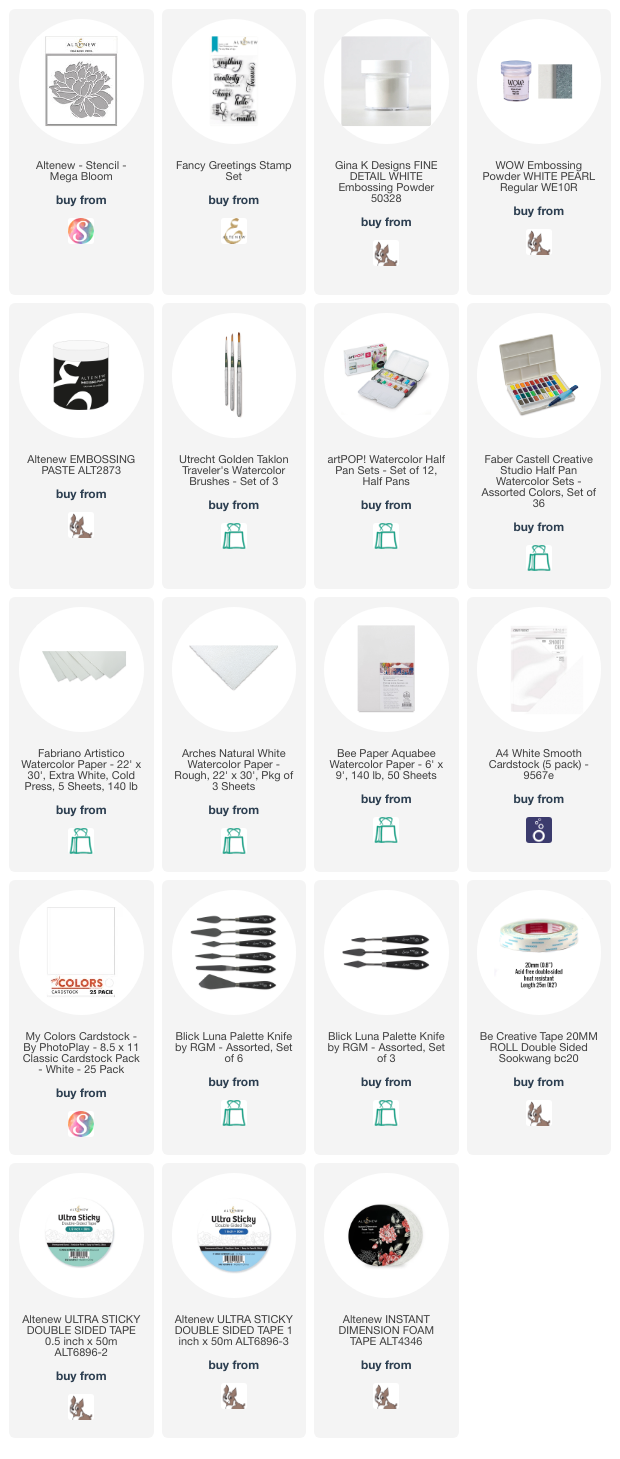
Here are the supplies that you need to complete this project.
The Cricut cutting machine is a very popular tool that is used to create and cut all types of materials. You can create customize your settings to get the best cuts when you are using cardstock.
Cardstock is one of the easiest materials to work with. There are so many different types of cardstocks available, And the best part is of all the materials you can cut, cardstock is the most reasonably priced. Taking the time to understand how to create custom settings for your materials makes all the difference in the world, especially with different types of cardstocks.
Types Of Cardstock Cricut Will Cut
There are lots of different papers cardstocks that you can cut with your Cricut. Cricut has a line of cardstock that has been developed to work with their cutting settings. This makes it easier to get the best possible cuts because they developed these papers to specific settings.
There are other really quality papers that will also work well with your Cricut cutting machine. Quality paper is important to get the best cuts and results for your projects. If you opt for inexpensive paper, you are going to do be doing a lot more tweaking with your settings to get the right cuts.
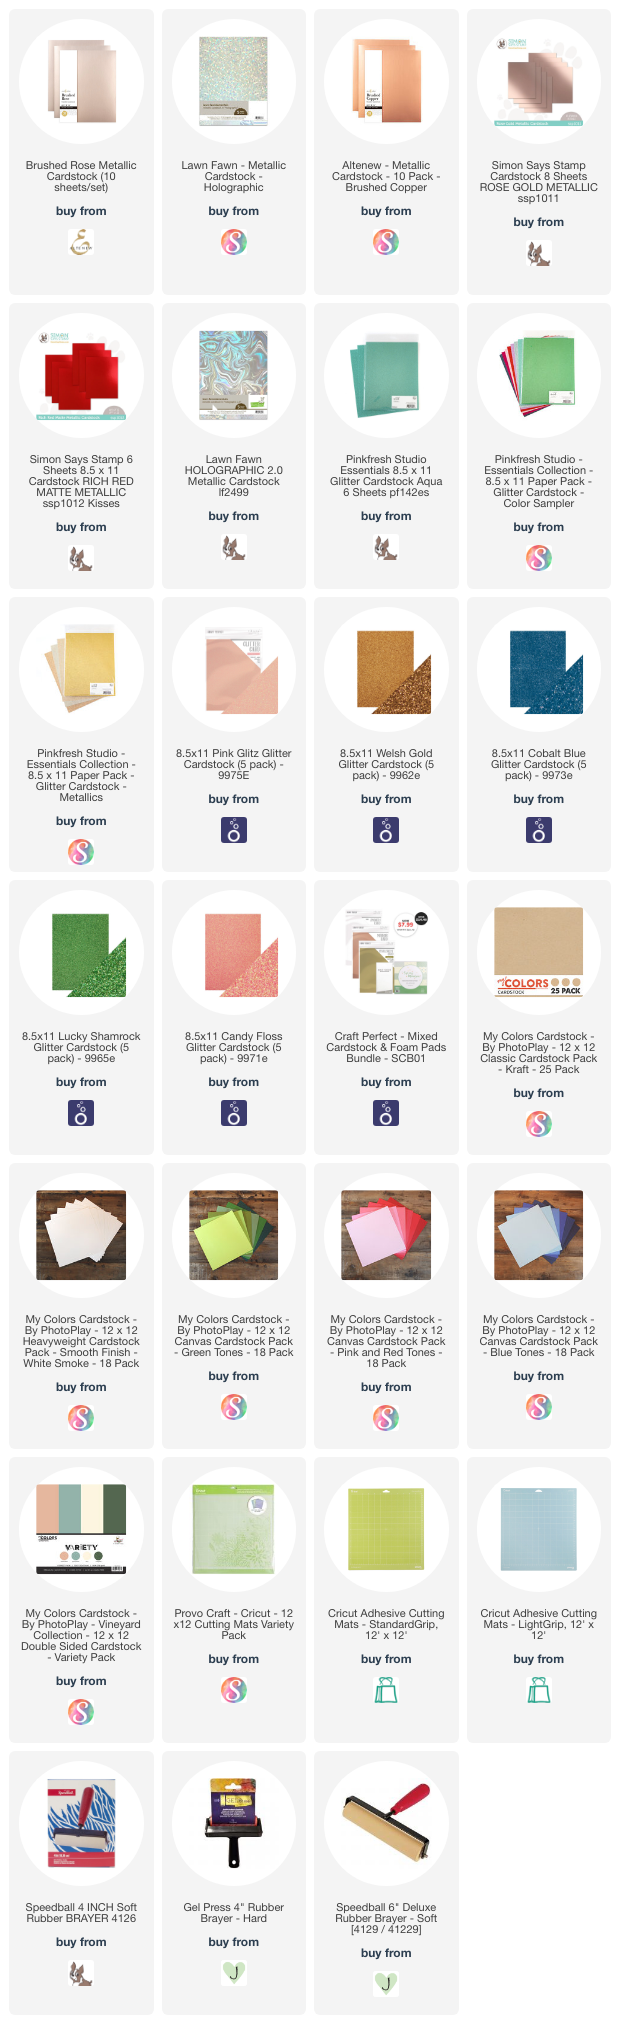
Cardstock For Use With Your Cricut
Colored Cardstock
Glitter Cardstock
Deluxe Patterned Paper
Sparkle Paper
Shimmer Paper
Foil Paper
Foil Embossed Paper
Solid Core Vs White Core
Cardstock either has a solid core of the same color or a white core with color over the top. For my projects, I prefer the solid core. I like to see the same color without any white showing. Make sure to check the packaging of your paper so that you get exactly what you prefer.
Textured Or Smooth?
There are times when you will want to add some texture to your projects. Texture is a great way to add dimension to any cut. The only thing to remember is that you will have difficulty with textured paper if you plan to write or use Cricut pens over the paper.
Settings On Different Cricut Machines
The Cricut electronic cutting machines have different setting options for different machines.
Cricut Joy
The Cricut Joy has a group of default boxes on the Make It Page of the program. You can select one of the default buttons on the page or use the Click Browse All Settings to get the exact material that you need.
Cricut Explore
The Cricut Explore has a dial setting where you can adjust the setting for your type of cardstock. Or you can use the custom setting to select the exact cardstock setting for the material being used.
Cricut Maker
The like Cricut Joy, the Cricut Maker has a series of boxes that has preselects for your convenance. Again, you can select Click Browse All Settings to get more selections.
Popular Settings For Cardstock
Here are some of the most popular settings for cardstock in the custom setting of Design Space,
Cardstock For Intricate Cuts Setting (best for any SVG design that has small details and numerous intricate cutouts, such as layered mandala designs).
Light Weight Cardstock Setting (tex-weight paper or 50-pound weight cardstock)
Medium Weight Cardstock Setting (The most popular cardstock setting. Works well with 65-pound cardstock)
Heavy Cover Weight Cardstock (heavier weight papers like cover weight or 80-110 pound cardstock).
Glitter Cardstock setting (use with glitter papers or textured glitter cardstock)
Pearl Paper Setting (use with light-weight shimmery frosted metallic papers)
Scrapbooking Paper Setting (use for any lightweight patterned scrapbooking papers with printed images).
Poster Board Setting (ideal for any heavier metallic foil textured cardstock)
And there are loads more! Browse them all by searching the keyword “cardstock” or “paper” in the material options of Design Space.
Blade Tips And Ideas For Cutting Cardstock
For the most part, you will be using the fine point blade for cardstock. There are some heavier cardstocks that require a deep point blade, but the machine will prompt you to change it when needed.
You can get a lot of cuts from your blades if you do some maintenance on them on a regular basis. If your blade is old, has had a lot of use, or has debris on it, the blade will drag and rip the cardstock as you cut your project. You might be surprised at the amount of debris that will collect on your blade over time.
Tin Foil Cleaning
This is one of the easiest maintenance tips that you can do to prolong the use of your blade.
Grab some tin foil and squish it together to form a medium tight ball.
Remove the blade housing from your machine if your blade is installed,
Push on the top of the blade so that the blade is exposed.
Push the exposed blade in and out of the tin foil ball. several times.
The tin foil may not only clean the debris, but also may sharpen the blade. If the blade is too far gone, however, the tin foil may not sharpen the blade.
Replacing A Fine Point Blade
Placing a blade correctly is essential to the function of your machine.
Remove the fine point blade housing from the clamp B (there is only one clamp on the Joy machine.)
Press the top button down and carefully pull out the blade with craft tweezers.
Remove the plastic top for the new blade and place it into the housing while holding the button at the top.
Release the top button to retract the new blade into the housing.
Cutting Cardstock With Cricut
Choosing The Right Cardstock
The first step to getting the best cut with your Cricut is choosing the right cardstock. When you use a good quality, dry cardstock, you are bound to get better results. If your cardstock is ripping or tearing and you have a clean mat and a clean bade, it may be that you need to change to a different weight or brand of cardstock. If your cardstock is damp because it has been stored in humid conditions, you could try heating it with something like an EasyPress to remove the moisture.
Using Your Mat
It is important to use the right mat to cut your cardstock. The blue light grip mat is the best mat to use on lighter cardstock. The green mat is the best choice for heavier cardstock. I know that there are a lot of knockoff mats out there that are cheaper, but quality does matter. I still tend to stick with the Cricut mats as the best choice for my cuts.
Choosing The Right Mat
For most paper and cardstock projects, you will use the light grip, blue mat. You can use the standard green mat for medium and heavier weight mats. Once you have used the green mat a few times, it can be used for the lighter cardstock.
How To Remove Cardstock From Your Mat
We have all faced the problem of getting out project off the mat. It is frustrating and a pain when you finally get the right cut, but the project will not come off the mat.
If you are using a new mat, it is important to prime it. Just remove the plastic covering off the mat. Then just press the mat against your shirt. You only need to do this once. It helps to keep your project in once piece. The stickiness of the mat is very strong when it is new.
Never pull or yank a piece of cardstock off of your mat. It will most likely curl and may rip.
Instead, lay the project with the cardstock face down on a clean workspace. Now gently bend the mat back to remove it from the paper. Use a scraper to help remove the paper from the mat.
Clean Your Cricut Mat
Use dish soap and lukewarm water to clean your mat.
Remove any surface debris before washing your mat. Use a scraper tool.
With a soft sponge work the soap and water over the mat.
Rinse with slightly warm water (not hot)
Pat dry with paper towels.
Let the mat air dry before further use.
Using A Brayer Tool
When you are cutting materials on your mat, a brayer tool is a useful tool to help you get a better cut. Brayers are inexpensive tools that come in different sizes. The tool helps you make sure that the material is securely on the mat to get a better cut. It extends the use of your mats.
The rolling brayer tool helps push the material on the mat, especially if the mat has some wear and is not super sticky.
Place the material on the mat.
Firmly roll the brayer tool back and forth over the entire surface of the mat.
Replace Your Mat
There are times when your mat will need to be replaced. Consider these:
The mat has been actively used regularly for the last 4-6 weeks.
The mat appears bent or bumpy.
Or if the mat has deeply cut lines covering the majority of the surface
Using The Right Pressure Settings
Using the right pressure settings can make your projects a success or a mess.
Here are a few settings to try for your next project. These are found in your Design Space Program once you select the custom setting on your cutting machine dial.
Light Weight Cardstock-50 lb. weight paper
Medium Weight Cardstock-65 lb. cardstock
Heavy Cover Weight Cardstock-80-110 lb. cardstock
Glitter Cardstock-Glitter paper or textured glitter cardstock.
Pearl Paper-Lightweight shimmery cardstock.
Scrapbook Paper-Lightweight patterned scrapbooking papers with printed images.
Foil Poster Board-Any heavy metallic foil textured cardstock.
Another option for pressure setting allows you to tweak the setting when you need to get a more custom cut.
Once you have selected your base material, Cricut will prompt you to load your mat.
On the screen you will see a dropdown menu with pressure options,
The pressure option dropdown allows you to customize (fine tune) how much stress the blade is putting on the cardstock.
It always starts with default automatically. But you can select More or Less pressure according to your needs. So, if you were cutting heavy cardstock and it is not cutting through you might and the More setting.
As you work with different materials, you should keep a list or a little book noting the brand of paper, the weight of the paper and the best cutting settings.
The Size Of The Design
One other thing that can affect cardstock when you are cutting with the Cricut is the size of the design, or the design itself. Every cutting machine out there has its limitations. Trying to cut a 1-inch delicate detailed design is simply not going to work no matter what setting you use.
If your design is very small, and keeps tearing, you may need to increase the size by a couple of inches to get the best results, If your project needs to be a certain size, you may have to use a less complicated design. Some designs may not work well on cardstock but might be perfect on other materials like vinyl.
To keep your mats, stay in the best condition possible make sure to store them with the plastic liner over the top. That way dust, pet hair or other material will not collect on the mat. Dirt and dust will cause a bad cut.
If you are using a new material in your cutting machine, it is always best to do a sample cutting before cutting the actual project. That way you will be able to tweak your settings before you actually go to cut the project.
Sime thicker papers like glitter cardstock may require two cuts to get through the paper. You could also adjust the cutting option to more rather than default on the Make It page of Design Space. As always, we recommend that you do a test cut if you have not used a particular cardstock.
After you chose your paper settings on the Make it page, you have another option of you are using the Explore 3 or the maker version. There is a Fast Mode button that can be used on simple shapes and designs. It will cut your design 2 times faster. This setting is one your Make It screen in Design Space. Do not however use this function on more intricate designs. It will make a mess of your project.
Have you ever considered taking your greeting cards the next level by using more than one media? We often focus on stamping, embossing, coloring or stenciling, today we are going to mix it all up with stencils, inks, colored pencils, stamping, and even some glitter.
Welcome to another edition of my journey in the Altenew Educator Program as I move closer to becoming a certified educator. We will be sharing some advanced stenciling ideas to inspire you to take a leap forward in your own journey with some ideas an some tips.
My specific focus for this tutorial is with tow specific stencil sets. For these cards, we used the
I also layered some embossing folders to add some design ideas. The embossing folders that we used are all Altenew 3 D embossing folders. Not only did we use them to create extra dimension, but we actually layered them to create focus.
I selected the Geometric 3D embossing folder, the Botanical 3 D embossing folder, and the One Of A Kind embossing folder. Each of these folders have a unique design.
To highlight the stencil pieces, I added another layer with some die cuts. That helps focus on the main stenciled images.
I also stamped the sentiments to give some added interest, I raised them with some foam pieces. Here is how we created the three cards for today's tutorial.
We are focusing in this tutorial on two specific cards. The burgundy and pink flower card as well as the blue flower card. But I have to say that the options with these combinations are endless.
Card Base
Because there are multiple layers to these greeting cards, I needed to have a good strong foundation. So, in this case, I used Neenah Solae White cardstock at 110 lbs. Each base was cut to the size needed. Then I used a scoreboard to add my fold mark. The scoreboard enables you to measure and mark your card to get the correct fold, The bone folder that comes with it helps you to get a crisp solid fold.
The Embossing Folders
The Altenew 3 D embossing folders are amazing! there is a lot of detail in these folders that make it easy to use them in this technique.
The detail makes it easy to pair them together to create designs that give your cards a lot of depth and design features.
They emboss well and are easy to cut down into any size that you need.
The Stencils
The stencils on these cards are a little more intricate than others. But that is not a problem. Each of the stencils are clearly marked to help you place them exactly where they should be. The masks for the flowers are built in so there is no extra masking needed. There are outlines built into the stencils. So, though you may have to rotate them a bit, you will clearly see where they should be placed. Ther are three layers for the leaves and 4 layers for the flowers. Because they are so clearly marked, even beginners will be able to use them after a little practice.
Burgundy And Pink Flower Card
This card shows depth in color and detail with both the focal flowers as well as the background for them. This 6" by 6" card features the Altenew stencil. The stencil set has layered stencils in the set that give excellent detail to the featured bouquet.
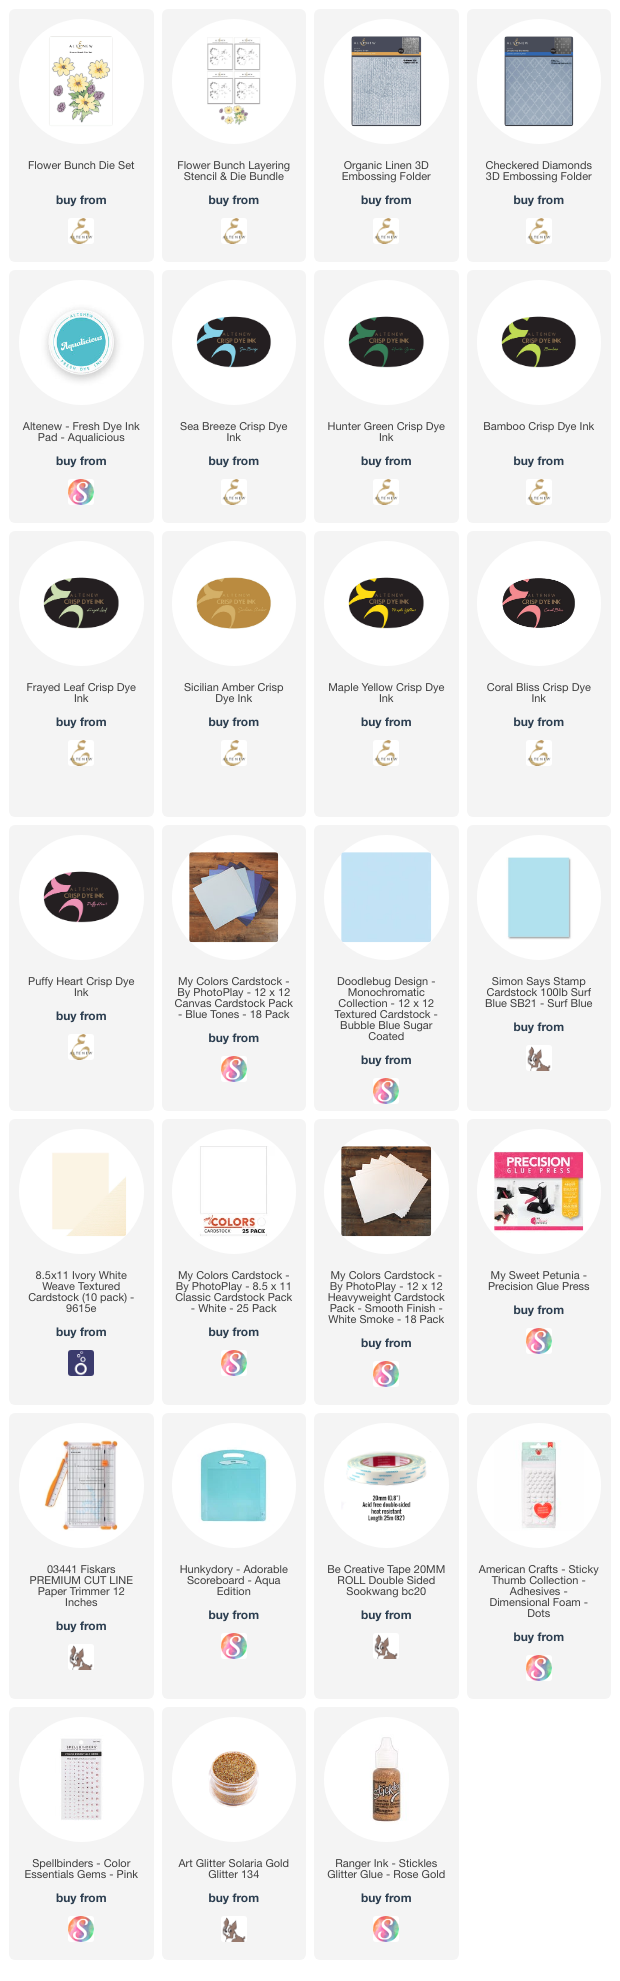
Supplies
White cardstock 110lb
Cream cardstock.
Burgundy cardstock
Altenew Flower Bunch Die and Stencil Set
Altenew Puffy Heart Dye Ink
Altenew Coral Bliss
Altenew Maple Yellow Dye Ink
Altenew Frayed Leaf
Altenew Bamboo Dye Ink
Altenew Hunter Green Dye Ink
Altenew Maple Yellow Dye Ink
Altenew Sicilian Amber Dye Ink
Altenew Organic Linen 3 D Embossing folder
Nesting Dye
Die Cutting Machine
Ink Brushes
Paper trimmer
Double sided tape
Glue gun
Glue
Pink half gems
Cut a piece of white cardstock into a 12" by 6" piece.
Score a line at 6" and fold. Use the bone folder to make the fold crisp.
Using the die cutting machine, emboss a piece of 6" by 6"creme cardstock with the organic linen.
Using the burgundy cardstock die cut the flower background piece.
Die cut the. Once sie cut, place the die cut back into the cut section.
Start with the leaf stencils. Stencil the leaves three times using the stencils. Each stencil adds another layer of darker green.
Stencil the two flowers in their base color.
Stencil the middle portion of the flower.
Stencil the base of the cone shapes with Maple yellow dye ink
Using the second stencil, stencil the detail on the cone shapes with.
Cut and stencil one additional flower and cone shape.
Use the three green colored pencil to add depth around the flowers. Use the darkest pencil closest to the flower.
Use a pink and deep pink colored pencil to add depth and petal detail to the pink flowers.
Use a brown colored pencil to add depth to the cone shapes.
Use Nuvo glue on the petal centers.
Sprinkle gold glitter on the glue and tap off excess.
Apply the Organic Linen embossed piece to the base with double sided tape.
Glue the stenciled bouquet to the burgundy die cut piece.
Add three pink half gems to the card front.
Add sentiment of choice to the card.
Blue Layered Card
This card has features of blue and yellow for a soft look. The card has a softness to it, but because of the geometric embossing folder, it could be used for a lot of different occasions. It would be a nice anniversary card, or a baby shower card as well.
Supplies
White cardstock 110 lb
Cream colored cardstock.
Altenew Flower Bunch Die and Stencil Set.
Altenew Organic Linen3 D Embossing Folder
Altenew Checkered Diamonds 3 D Embossing Folder
Altenew Sea Breeze Dye Ink
Altenew Aqualicious Dye Ink
Altenew Maple Yellow Dye Ink
Altenew Sicilian Amber Dye Ink
Altenew Frayed Leaf Dye Ink
Altenew Bamboo Dye Ink
Altenew Hunter Green Dye Ink
Ink Brushes
Background die cut.
Die cutting machine.
Paper Trimmer
Die Cutting machine.
Double sided tape
Nuvo glue and gun
Sickles
Dark brown colored pencil
Medium blue colored pencil
Dark colored pencil
Blue half gems
Foam dots.
Sentiment of choice
Cut a piece of white cardstock into a 12" by 6" piece.
Score a line at 6" and fold. Use the bone folder to make the fold crisp.
Emboss the Checkered Diamonds embossing folder using a 6" square piece of creme cardstock.
Emboss the white cardstock with the Organic Linen embossing folder. Cut the embossed paper to a size of 4.5" by 5..
Die cut the blue piece of background paper.
Die cut the flower bunch die, Use the paper that you cut it from to hold the die in place while you are stenciling.
Start with the leaf stencil using the lightest of the three green inks-Frayed Leaf
Apply the second layer of ink- Bamboo to the second leaf stencil.
Apply the darkest layer of green ink-Hunter Green to the third lead stencil layer.
Using the base flower stencil apply the Puffy Heart Ink,
Then apply the Second and third layer with the Sicilian Amber ink.
Use the base stencil for the cone base and color the shape with the Maple Yellow ink.
Use the pink and the dark pink colored pencils to add detail to each of the petals of the flower.
Add detail to the leaves with the three colored pencils. Use the darkest colored pencil closest to the flowers to help the flowers stand out.
Use the dark brown colored pencil on the cone shapes.
Dot the center of the flower with the . Let it dry.
Apply the Geometric 3D embossed piece to the base with double sided tape.
Apply the One of A Kind embossed piece on the geometric piece with double sided tape.
Apply the blue die cut piece to the One Of a Kind embossed piece.
Glue the stenciled flower piece with the neuvo glue,
Attach the gems to the blue die cut piece.
Attach the sentiment of choice with foam dots.
Here are a few ideas to help make your experience more successful:
Number the stencils in permanent black ink.
If there are numerous layers to the stencil, line them up and mark areas you can focus on. Mark them with a permanent marker on the back side of the pencil
To make your flowers stand out, use the darkest pencil closest to the edge of the flower.
Raise the sentiment with foam dots to create extra dimension.
With larger flower elements, make the flowers the focus. Use smaller sentiments.
Use a paper stub to blend the colored pencils.
You can also blend the colored pencils with some gamisol.
Thank you for stopping by. We hope that you will visit the community often to get resources, ideas and tips to help you grow in your art.
So how do you feel about the prospect of creating layered multimedia greeting cards. We hope that you will give these ideas a try in the near future.
Check out more ideas at https://nicolewattcreates.com/how-to-use-ink-sprays-with-stencils/
We do not often think about using ink sprays. I suspect because they tend to be the messier side of paper crafting. But on the flip side, they can be a lot of fun and very rewarding. We are using spray inks with paper today,
This is a very basic technique that has a lot of applications. You could use this technique in art journals. scrapbook base pages, greeting cards, junk journals and so much more.
While we all love ink sprays, there are times when we also hate these products too. Clogging is the biggest problem with any of these products. Clean the nozzle after each use. Use water and a paper towel to keep the nozzle clear for a consistent spray.
Sometime when you press down the spray top, they don’t pop back up again. If this happens, just pull on the top to help it come back up. It’s a little annoying, but it means that you can still use the spray ink inside the bottle. If push comes to shove just move the ink to a clean bottle. I keep several empties on hand just for that purpose.
Let's Talk About Ink Sprays
There are a few different options when it comes to ink sprays. You want to be sure to select the spary that fits your needs.
Adirondack Color Wash Spray
A translucent spray with a darker range of colors.
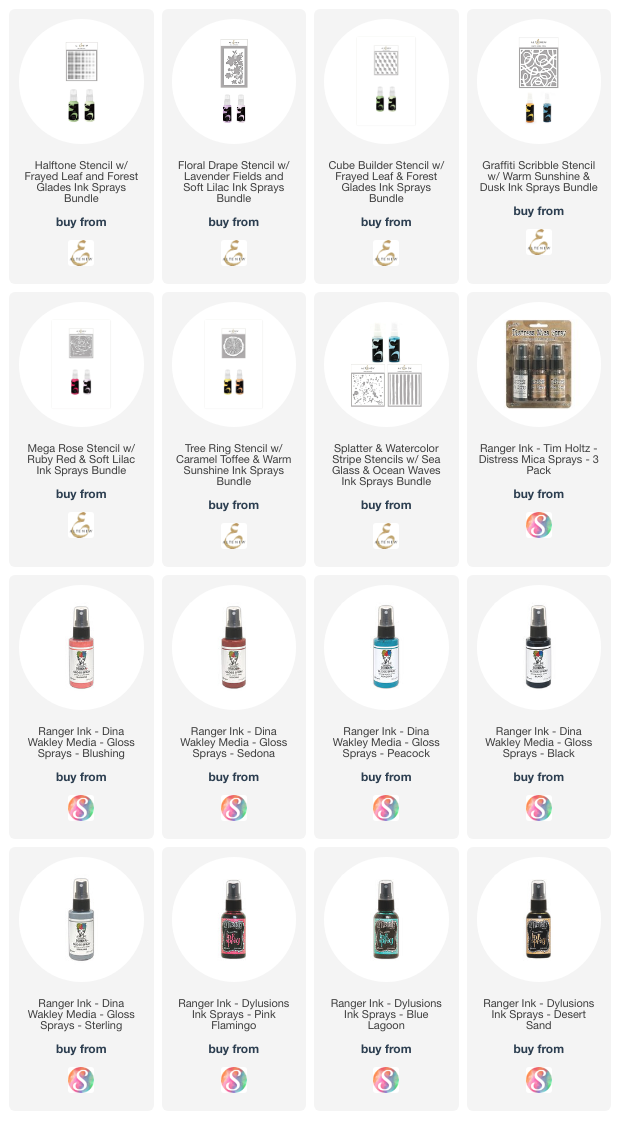
Altenew Ink Sprays
Metallic Shimmer Spray-These sprays are acid free and archival. They come in 2 oz bottles.
Metallic Ink Sprays
Distress Oxide Spray
This product is a pigmented ink fusion that creates oxidized effects. It is the fluid version of the distress oxide ink pads.
These need to be shaken before they are used. If you forget, you will get an entirely different effect than expected. It is recommended that you shake them side to side. There is a ball inside the bottle that will mix the contents. The manufacturer also recommends that you store them upright. That way mixing will be less of a problem. It starts out shiny but has a chalk like finish when dry.
Since this is an opaque spray, it is perfect for art journaling.
Make sure to clean the nozzle every time that you have finished using them so that the nozzle does not get clogged.
Distress Spray Stains
These sprays are basics for most spray ink techniques. They are water-based dye inks for paper and porous surfaces. They are the fluid version of the distress inks. The colors match the distress ink pad line. The bottles contain 1.9 fluid ounces of liquid ink in a fine mist sprayer. You can mist with water to lighten the color.
The metallic spray stains are thicker than other sprays. They are completely opaque.
75 colors make this collection the largest collection of all of the ink sprays Use the spray 8-10 inches away from your project with a sweeping motion. There is a picket fence stain that gives a milky effect to your projects that I do recommend having.
Colorful pearlescent shimmer makes these sprays stand out as a defined statement. Use as a finishing spray or layer over inks and paints to create luminous effects and backgrounds. There are currently 32 colors. Get a free color chart.
Dylusions Spray Ink
These are highly concentrated colors. They are non-toxic and acid free. Is water reactive.
The bottles contain 2 fluid ounces of spray ink. This ink tends to glost and lighten.
Dries very fast! These are alcohol based but are considered non-toxic. Is pigmented and shimmery. May sometimes dry a different color than the dye. Each bottle contains 2 ounces of spray mist.
Mica Spray
There are 12 different sprays available. There are three mica sprays for the Distress line, Diana Wakely Media line, Dylusions line and the Wendy Vecchi line. Free color chart.
Perfect Pearl Mists
These are liquid bound mica powders. They are considered transparent and permanent. Each bottle is 2 ounces with a fine mist spray. The thing to know about these sprays is that the perfect pearls in these bottles will settle at the bottom. So, they need to be shaken well before use. Flip the bottle over and shake them. That way you can see that all of the perfect pearls are distributed evenly.
For this product, the darker the surface, the better the result.
The product tends to be a low shimmer. One of the places that they are good for is when you make rolled paper flowers. After you cut the flowers on your electronic cutting machine, spray them with the perfect pearls shimmer spray. That softens the paper, and you can get a better rolled paper flower.
DIY Perfect Pearls Shimmer Spray
Tattered Angel Chalkboard Mist
Chalky semi opaque mist-highly pigmented. About 12 colors currently. Must be shaken side to side so that the glimmer is spread throughout the fluid. You can blot this product with a paper towel to get it to dry faster.
Tattered Angels Glimmer Mist
Translucent with lots of shimmer. This is a non-toxic pigmented spray that gives you a slight hint of glimmer.
Before you use this product, you will swirl the bottle, rather than shaking it. That helps to avoid air bubbles. Lack of air bubbles gives you better results.
You also want to not overuse this spray with stencils, 2-3 sprays should be more than enough. Any more than that will cause you to lose the stencil pattern.
Dry it before you move it. It is a liquid so if you move it before it is dry, the liquid my run and you will lose your stencil pattern.
Get Crazy With Color
Who says you have to limit yourself to one color or even one-color family? As we always say, "your art, your way" So experiment with color. Use 2-3 different color sprays on one piece of paper! Find the combinations that float your boat and use them to your best advantage.
While you are at it, mix different kinds of sprays to see what works for you!
The closer to the stencil you spray, the juicier the image.
Too much ink? Just roll a roll of paper towel over the image to blot up any excess ink.
Sprayers may get clogged. Soak them in warm water and then spray them till the clog goes away.
If you are developing your ink spray sets, divide them into three groups warm, cool and others. Makes it easier to work with colors. Black, white and grey are considered non-colors-They go with everything.
Remember, if you use two colors or more, where they meet, a third color will be created. Take time to experiment with your sprays so you know how they work together.
When you’re all finished using the spray ink for the day, turn it upside down and give it a couple of pumps until nothing comes out. I like to use every drop of color, so the cleaning created the start of a future art journal page.
Tools And Supplies To Use Ink Spays With Stencils
The first thing you will want to consider is protecting your workspace. The ideal situation would be to use your ink sprays outdoors where the spray could cause little damage on a non-windy day. But even then, I would use a spray box. You can make your own custom spray box with a shipping carton is less than 30 minutes.
Other tools and supplies that you will need include:
Stencils
You can use any stencils that you would like. If you are using a stencil that has sharp lines, you may want to use a temporary spray adhesive like Pixie Spray.
Cardstock and/or vellum
You can opt to use white, colored or even metallic cardstock to create your stenciled images. Remember, this is a wet technique, so you will want to use at least 80-90lb cardstock. Try using some watercolor paper or textured paper for a different look.
Vellum will not absorb the spray so it will take longer for the vellum to dry. But you can get some amazing effects with it! When spraying vellum, make sure to place a piece of cardstock behind the vellum. Attach the papers together with some mint or washi tape. that way you will not get curling of the vellum.
Using the heat tool. especially with the vellum, will decrease the amount of time your papers need to dry.
Gloves
Most ink sprays will stain your hands and everything else they come in contact with. If you want to keep your manicure fresh, it is well worth it to wear gloves.
Heat Tool
It is super important to use your heat tool for these techniques as your manufacturer recommends.
If you get too close or your tool is too hot, you take a chance of getting a scorch mark on you paper.
If you have two settings, try the lower setting first.
Remember to always let your heat gun warm up before you apply it to the paper.
Make sure that you set your heat tool on safe surface, I keep a large tile to lay mine on.
Always allow your heat tool to cool off completely before putting it away,
Finally, remember to unplug your heat tool when not in use.
Paper Towels
This is a fun, but messy technique. So, you want to keep some paper towels handy to blot ink and clean up any little messes you may make. You can also blot some of the ink off your project if you overspray.
Easy Steps To Use Spray Inks With Stencils
Set up your spray station. Place some parchment paper, waxed paper or scrap cardboard st the bottom of the box.
Place the cardstock in the bottom of the spray station.
Place the stencil over the cardstock.
Spritz the spray over the stencil. The more you spray, the darker and richer the color will be,
Carefully remove the stencil and set it aside.
Carefully remove the cardstock.
Place a new piece of cardstock on the bottom of the station.
Flip the stencil over to use what is remaining of the spray. Go over the image with a paper towel roll to press the ink onto the paper.
Then add a little more spray to complete the second stenciled image.
You can keep flipping the stencil till you have all of the images you need.
Set the stenciled images aside to air dry or use the heat tool to dry your projects.
Along with the liner to your spray box, you can include some paper toweling to absorb some of the wet media.
Don your gloves before you get started. Some ink sprays are difficult to get off the skin. The gloves can be used several times before you dispose of them.
Be careful using too much spray with your stencils. The more spray you add, the more likely some of the spray will steep under the stencil.
The farther away you hold the spray, the more of a mist like effect you will get.
If you are using an oxide ink spray, make sure to shake the bottle well for the best results.
A brayer can be used to press the ink onto the paper. Just make sure to clean the brayer in between colors unless you like a messy look.
Layer some acrylic paint on your project before doing the ink spray and stencil technique.
Oxide Ink Resist Technique
You can use one or more oxide inks to create a resist technique. This is a great tag or art journal technique that will turn out perfect every time.
Supplies
Oxide ink sprays in your favorite colors
Stencil of your choice
Paper towels
Clean spray bottle with water
Heat gun
Craft mat, silicone mat or parchment paper
Lay the craft mat or parchment paper on your work surface. And then lay the paper that you are using on top.
Spray the oxide ink of your choice on the paper.
Use the heat gun to completely dry the ink. The ink must be dry for this technique to work. You could allow it to air dry too.
Once the paper is completely dry, place the stencil over the paper. Make sure it is tight in the paper. Use any type of low tack tape.to secure the stencil to the paper.
Spray the paper with the water spray.
Let the water react with the ink for a minute or two.
Blot the project with a paper towel.
Let the paper dry.
Reactivate any ink that is one your mat with the water spray, smoosh some paper or a tag over the leftover ink to use it up.
Glass mats work well for this wet type of technique.
Wet Wipe Oxide Spray Technique
Supplies
Oxide inks
Paper
Wet wipe or baby wipes
Stencils
Low Tack tape ot washi tape.
Apply one or to oxide inks to your paper.
Use a heat gun to dry the paper or let it air dry. The paper must be dry for this technique to work right.
Once the paper is dry, lay the stencil on top of the paper.
Secure the stencil to the paper with the low tack tape.
Wipe the paper with the wet or baby wipe to remove the excess ink.
Adding Gesso To Your Stencil Before Spraying
Another option is to add gesso to your stencil before you spray it. The gesso adds texture and dimension to the paper. If you are not familiar with gesso, it comes in thin, medium and heavy textures. For this technique, I would use either the medium or heavy texture. Experiment and see which texture you prefer.
Supplies
Cardstock-90-110lb in white or solid colors
Gesso-medium to heavy texture
Stencils
Spatula
washi tape
Paper trimmer
Heat tool
Silicone mat or parchment paper
Cover your work surface with the silicone or parchment paper.
Cut your paper to the size that you need with the paper trimmer.
Lay your paper on your work surface.
Lay the stencil over the paper. Use a piece of washi tape or any other low tack tape to create a hinge on the top of your paper.
Apply a thin coat of gesso over the stencil.
Carefully remove the stencil from the paper
Let it air dry or use a heat tool to dry the paper. If you use a heat tool, be very careful not to get too close to the gesso. If you have a low setting on your heat tool, use that. You want to avoid bubbling the gesso.
Wash the gesso off the stencil and the spatula right away so that it does not dry. Use warm water.
Once the paper is dry, spray a fine mist over the project. Add more spray if desired.
Dry the paper with the heat tool.
The Difference Between Using Gesso With Ink Sprays Or Not
What Can You Do With The Finished Stenciled Images?
1.Die Cuts
One thing that you can do is to create panels and ovals to layer onto greeting cards. Start with a card base that is made from 110lb cardstock in the size desired. Die cut the panel, oval or circle. Mount it to your card base either with double sided tape or foam tape. Add a sentiment and any embellishments. You will have a truly custom greeting card.
2. Tags
Spray inks are the perfect media to use on tags. Tags are used in lots of mixed media projects. Lots of paper crafters create tags ahead of time to add to their journals, planners, art journals, Bible journals and a lot more. Any technique that you can do on card stock, of course you can use on tags.
Use the ink sprays for the base of your tag. Then add embellishments and words to create a custom design. You can do themed tags fir different seasons, themes and occasions. Because you can create gift tags for birthdays, holidays and special occasions with these techniques.
Start with a tag base. You can cut a tag on you electronic cutting machine. You can also use a die to cut tags in different sizes. You can also hand cut them using a ruler and a cutting craft knife. Make sure to add a hole in the top of your tag. That way you can add ribbon, twine embroidery floss or anything else you would like to add to your tag. Tags are the perfect way to use up those bits of ribbon.
Just like other paper crafts, you will want to cover your work area with either a craft mat, silicon mat or some parchment paper. Remember that ink sprays will go anywhere and everywhere. Do spray in a cardboard box or outdoors.
Making tags with ink sprays is a lot of fun.
Journal Backgrounds
Journal Background Tips
If your page gets too dark, you can always add some Dylusions White Linen Ink Spray to lighten it up.
Always allow one layer to dry before you add another layer.
We hope this information, ideas and tips have helped you think about giving these techniques a try. As always, we welcome your comments, ideas and thoughts. Please leave a comment below.


.png)


.png)


.png)
.png)


.png)

