.jpg)
We are featuring a new tutorial as part of my Level Three accreditation in the AECP (Altenew Educator Certification Program). This is a program that I have been working through for some time. My goal has been to be able to learn and share with you the best ideas and techniques to help you be the best paper crafter you can be.
There are actually 5 levels of layering classes in this program. The project that I am focusing on is a more intricate stamp set called. Climbing Clematis.
There are actually 6 layers to the main flowers and several layers to each of the coordinating flowers. The coordinating flowers add a natural touch to the design.
Here are some of the techniques that I am focusing on for this tutorial:
- All About Layering 1-5
- All About Layering Dies Edition
Layering Guides

Layering guides are an essential tool when creating multiple layers of any stamp set that you are fanning to use. It makes the process so much easier.
I have chosen the stamp set from Altenew called Climbing Clematis. This stamp set was a bit more challenging because there are many more layers and a lot more details than many others. But even through this set is a bigger challenge, there is layering guide that takes you through each of the elements.
If you look closely at the images on the layering guide, you will see that there are marked areas to help you line up each layer. I found this very helpful, especially when working with multiple layers.
This stamp set has three larger flower options as well as two smaller flowers too. Because this is a large and intricate set, each of the layers of each element has a number on the acrylic sheet. The layering guide elements are identified the same way. This is really helpful since the numbers direct you in which order the stamps are applied.
Especially for this project, I used my Misti stamping tool. It is easier to find the points that help you create the layers every time. There are many other good stamping platforms and tools, so use what you feel comfortable with. I also used the sticky mat to assure that my images would stay put every time.
Getting The Layering And Stamping Right
Before I actually started the project, I practiced with the stamps to get the placement right. Each of the layered stamp sets has a base stamp, layered stamps as well as an outline stamp.
First, I practiced with each individual stamp. Aa I work with each stamp; I am looking for specific points in the stamp where I can look for points in the flower where I can line up each layer. Once I am comfortable with the stamps, I follow the layering guide to place each of the layers.
You can use a light pencil if you would like to note your matching point. That way your eye will line up each layer. A mechanical pencil is perfect to create your reference points.
When starting with layered flowers, you want to start with the lightest color and build up to the darkest. For this project, I wanted some softer looking flowers with no harsh outlines. So, I started with the base first.
I like my ink pads up with the lightest color on the top and the darkest on the bottom. As I use the color, I flip it over and move to the next color. That way I tend to make less mistakes.
Another option is to start with the outline stamp and then work your way up through the layering. I prefer this method when I stamp set with a lot of inner details and petals.
When starting with layered flowers, you want to start with the lightest color and build up to the darkest. I line up my ink pads up with the lightest color on the top and the darkest on the bottom. As I use the color, I flip it over and move to the next color. That way I tend to make less mistakes.
More Layering Tips
- Double-sided adhesive on the cardstock makes little stickers when you die-cut the pieces, meaning you don’t need to add adhesive to smaller pieces. You can use adhesive sheets to stamp and then die cut pieces that you are planning to use as flat pieces.
- I like to keep my stamp, layering guide and dies all together in one storage envelope. You can choose to keep them together either in your stamp storage system or with your other die sets. It's up to you!
- As I work through the layers. I like to give a minute to each layer to allow some drying before applying the next color.
- On a single piece of white cardstock, stamp multiple images of each of the elements that you are planning to use. That way you can use all the corresponding dies in a single pass through your die cut machine. This saves a lot of time, especially if you are doing lots of elements.
All About Color Families
 |
| Altenew Color Families |
I have chosen three color families for my project- blue, pink and yellow. It is important to use ink pads with color families that give you the right variations for your layers. And another tip is to make sure that your ink pads are juicy. You want to have a bright crisp image in your layers to get the best detail. The Altenew stamp pads that I used gave me the best options for the color families that I needed.
If the brand of ink that you are using, has a color chart, look to see which colors would look good on your layers. While I like using color charts, I also know that they are just a guide. The color may not always be true to the finished product.
One thing I always recommend is to create color
swatches with all of your ink pads. That way you have a true representation of what the color actually will look like when dry. It also acts like an inventory to help you select color.
If you have never used layered stamps before, I encourage you to give it a try. Start with a simple two to three layered stamps set and work your way up.
While I prefer to use a stamping platform like a MISTI when I am working with layered stamps, you can in fact use acrylic blocks. Use a clear acrylic block close to the size of your stamp for the best results, rather than a block much too large. You may need several different blocks as the different layers may be in different sizes.
Other Tools And Supplies
- Climbing Clematis Stamp set
- Climbing Clematis die set.
- Altenew Tiny Sentiment: Wishing
- Die cutting machine
- Misti Stamping Platform or another stamping platform
- Pokey tool is used to poke and the stamped images from the dies.
- Nesting square die set or any other nesting set that you would like to use.
- White Cardstock-at least 90-110 lb. cardstock for the base of your cards
- Blue Cardstock
- Blue Printed Paper
- Blue Crystal Gradient Glitter Cardstock
- Emerald Gold Washi Tape
- Leaf washi tape
- Foam tape
- Double sided tape
- Foam squares
For my three cards, I used one of the larger sets, two of the smaller flowers and several of the leaves. There are lots of options in this set. Besides the larger flower, there are two medium flowers and two smaller ones. There are also three leaf options. You could create all kinds of combinations from just this one set.
Pink Washi Tape Card

I used a simple 5" by 7" card base. I chose the next layer for the card panel in the blue from the background of the washi tape. It is about 1/4 of an inch smaller than the card base.
The design panel is one slightly smaller than the base panel. The keep the design balanced, I use 1/4 inch less on each additional layer of the card. You want to lay the washi tape diagonally across the panel. Cut your pieces long enough to go over the back of the panel. Smooth them out with your finger or a bone folder to make sure that they are adhered to the panel. Now add the thinner washi tape between the stripes.
Mount the flowers to your card. The larger flowers in this design are adhered to the panel with foam squares.to give more dimension to the card. Raising them up gives a more natural look.
And the sentiment is raised as well with foam squares just to give a little more dimension to the overall design.
The Pink Color Family

Layer One-Frosty Pink Crisp Dye Ink
Layer Two-Pink Pearl Crisp Dye Ink
Layer Three-Coral Bliss Cricp Dye Ink
Layer Four-Ruby Red Crisp Dye Ink
Layer Five Mango Smoothie Crisp Dye Ink
Layer Six- Mahogany Bark Crisp Dye Ink
I love the pink colors in this color family. They are soft and feminine. They would be perfect for a gender reveal party, a birthday party, a baby shower or a wedding shower where pinks are the predominant color.
If you wanted richer tones, you could opt to start with a darker color. And move your way up from there.
.jpg)
Blue Lace Card
Not only am I layering inks in the flowers, but I am also using die cut to add extra layers to the designs.
The design starts out with a white card base. Because of the multiple layers of die cuts and flowers, I used 110lb cardstock. It is important to use a strong card base to hold the other layers. Between the layers, I added the same blue paper as I used closest to the base to give some balance to the card. The color blue cardstock that I chose was in the tone of the some of the ink in the flowers. That gives more balance to the card.
Since the design is mostly blue, I wanted to add a little contrast between the layers. I started with the black as a frame to the base. It acts to bring out color in the design.
Then to add some additional contrast I used some Glitter Gradient cardstock in the Blue Crystals. If you are not familiar with this cardstock, you might want to give it a look. It cuts with dies beautifully and works with choosing folders. It is one of my favorite glitter papers to use.
I used a set of nesting dies to help create the layers in the design. It gave a lacy look to the design. Nesting die sets are a good investment. They can be used on their own and in layered designs as I am showing here.
The sentiment is layered in the same way as the card using the smaller elements in the same nesting die set. I used the glitter cardstock and the black to set it apart from the rest of the design. I also used some foam squares to raise the sentiment above the card.
O love the blue flowers in this design, I wanted to create a bouquet effect for the card. The easiest way to create the bouquet effect is with foam dots or squares. These are double sided foam pieces. One of most important things to so when using these on elements is to cover the element with the foam as much as possible. You will also want to raise the larger pieces and fill in the bouquet with the smaller elements. This gives you a lot of balance to your design.
The Blue Color Family

Layer One- Dew Drops Crisp Dye Ink
Layer Two-Ocean Waves Crisp Dye Ink
Layer Three- Turquoise Crisp Dye Ink Layer Four- Teal Cove Crisp Dye Ink
Layer Two-Ocean Waves Crisp Dye Ink
Layer Three- Turquoise Crisp Dye Ink Layer Four- Teal Cove Crisp Dye Ink
Laer Five-Mango Smoothie Crisp Die Ink
Layer Six--Galactic Stream
I love the tones of blue in this color family. The colors remind me of baby boys and summer flowers.
The blue color family has a lot of options. It is actually the largest group in the Altenew color family. That gives you plenty of options with any layered stamp set that you may design with.
Yellow And Blue Wedgewood Card

The inner and outer nesting die was placed and secured with low tack tape. Then run through the die cutting machine twice.
Yellow Color Family

Layer One-Butternut Crisp Dye Ink
Layer Two- Mango Smoothie Crisp Die Ink
Layer Three-Maple Yellow Crisp Dye Ink
Layer Four-Honey Drizzle Crisp Dye Ink
Layer Five-Snapdragon Crisp Dye Ink
Layer Six Mahogany Bark Crisp Dye Ink
The prominent colors on this card are the yellow tones. But I added some blue in the smaller flowers to add more interest.
You could also opt to go from the darker yellows into the oranges.
The Leaves For These Designs
There are several different leaves for this collection. All of the leaves have lovely veins as part og their design, The inks that were used for my leaves were:
- Frayed Leaf Crisp Die Inks
- Green Field Crisp Die Ink
- Moss Crisp Die Inks
Layering Tips And Ideas

Here are a few ideas to help you when you are working with and designing layered stamps.
When you are using large and small layered elements in your design, place the larger elements first and then fill in the design with the smaller elements. That way you will have more balance.
Once you are happy with the arrangement of your design, use some low tack tape on the elements to keep them in place while you add adhesive.
Raise a few of the larger elements(flowers) with foam dots and squares. It gives a lot of dimensions to your design.
You can vary a flower bouquet by using different colors within the same color family.
You will get a better look to your flowers if you use a coordinating die, when available. You can fussy cut the element but leave a small thin border around the edge of each image.
Add odd numbers of flowers and leaves to give a more natural look.
Add leaves in a triangle around flowers to create a natural "bouquet."
Add flowers and leaves over the edge of the card. Then trim the edges. This gives a nicely designed appearance.
Use markers to color the edge around die cuts when adding to a dark card base; it makes the flowers pop.
Other Choices For Multiple Layering Techniques
The stamp set Climbing Clematis is available in a link below. But if you are looking to take the challenge of creating multiple layered flowers, here are some suggestions for stamp and die sets that can be used. Like the stamp set that I used for this project, these sets include the dies that you need to get started.
Build-A-Flower: Laelia Layering Stamp & Die Set-6 layers in the main flower.
Build-A-Flower: Dahlia Layering Stamp & Die Set
Build-A-Flower: Primrose Layering Stamp & Die Set- 4 layers in the main flower.
Build-A-Flower: Clover Layering Stamp & Die Set
More Ways To Use This Collection
Beyond cards, there are dozens of ways to use this collection as well as other layered flower stamps. They can be used on journal pages, clusters, tags, and even scrapbook pages.

I used little nosegays in the pink color family to create this scrapbook page. The larger flower was raised with foam squares. Then the other elements were tucked into the arrangements and adhered with PVA glue.
I also used green toned doilies. to frame the baby picture
I layered the picture in pink cardstock to complete the design.
When you are designing scrap book pages, the best color choices are usually found in the picture itself. Choose the primary color of the picture and you can never go wrong.
In addition to the "nosegays" you could also use these flowers along one side of the page as well.
Scrapbook pages are so much fin to create when you use layered flowers and elements.

All of the leaves on both scrapbook layouts were cut from my Cricut electronic cutting machine, I used the larger leaves to bring out the color of the flowers. The larger leaves make sense since the scrapbook page is much larger than a greeting card size.
I hope that you think about using your layered dies for more than just cards.
Are you interested in taking the layering challenge? Would you like to take your greeting cards a step further and grow in your stamping skills? Here is a free group of classes that you can consider taking to learn new techniques and skills to learn how to layer stamps.
My journey has been amazing to this point. I have grown as a crafter in so many ways. I recommend the Altenew Educator Certification Program to everyone. You will be challenged to grow and become more than you ever thought possible. Thank you for traveling on this journey with me.

Till next time,
Happy Crafting!
Linda

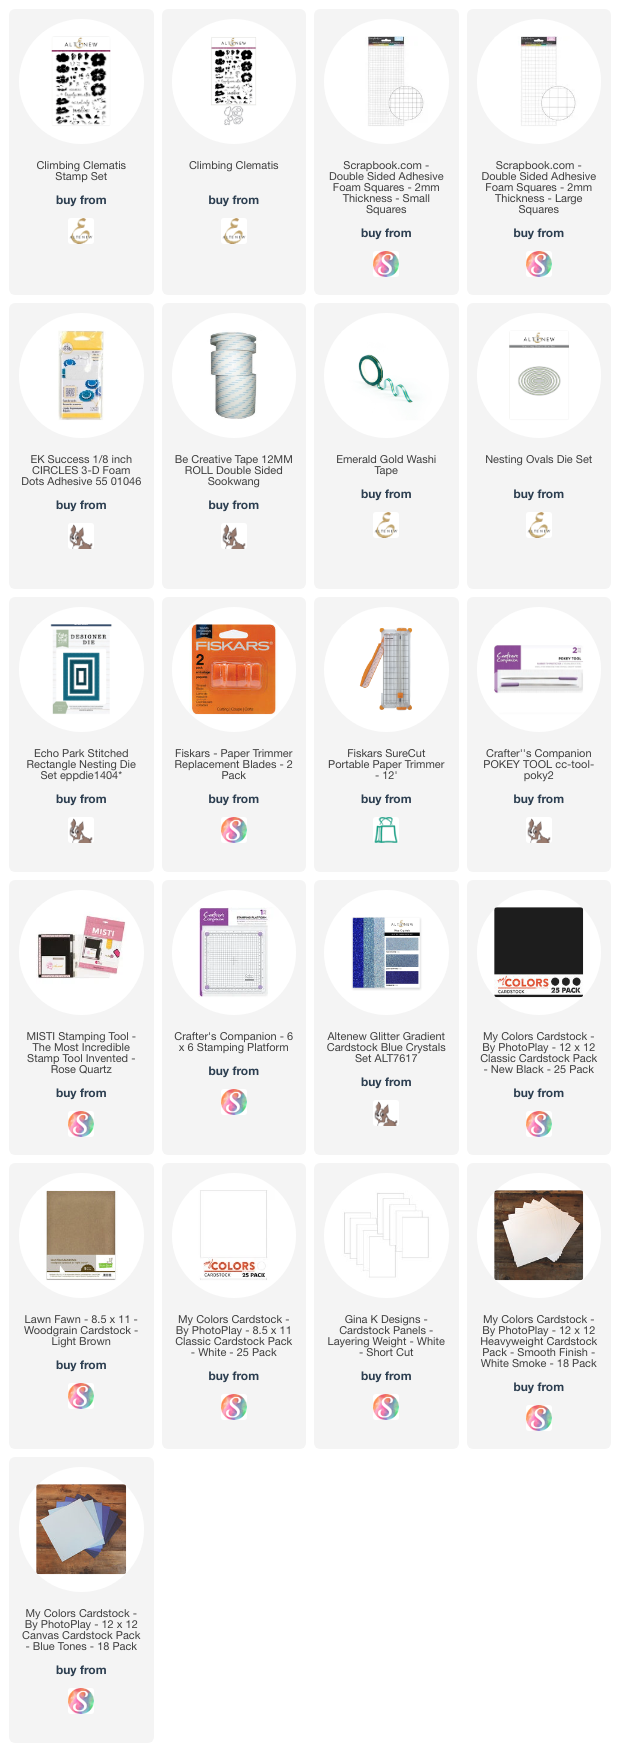
Supplies To Create Ink Layering Techniques
You hae outdone yourself on this one, Linda! These cards look brilliant. You have crafted each card with such finesse and detail. Bravo!
ReplyDelete