.JPG)
Today we are all about masculine cards. I know that for a lot of crafters, these types of cards pose a challenge, so we are offering some ideas and tips to help you create some cards for the special men in your life.
This is part of a project for my Level 2 certification in the Altenew Educator Program. It has been my pleasure not only to be a participant in this program, but to also share the Techniques and ideas with you every step of the way. You may want to consider either taking some of the classes or doing the Educator Program. It will take your paper crafting to the next level for sure. There is great deal of support in both programs. check it out at the Altenew
website.
For this project, I stayed with blue, brown and gold as a theme for these cards. But you can theme these ideas to any colors that make sense to you. My goal was to show you how to use the same or similar products and tools to create a different design or theme. This was a class that I very much enjoyed showing how color can be used to set a different tone or design.
I used the Altenew Coffee Break cardstock for as many of my brown pieces as size permits. I found both this cardstock and The Altenew Glitter cardstock to be some of the finest cardstock I have worked with!
There are so many different ways to theme masculine cards. For this group of cards, I used techniques from some of my Level 2 classes. The classes that I focused on were Beyond Basic Backgrounds, Impressive Heat Embossing, and In The Mood For Color.
And I would say that I added a few twists to these cards too!
.JPG)
I liked the congrats card because it reminded me of tile.
In one case I use embossing paste and the other I actually used embossing powder.
I also wanted to share with you how to create stripes with embossing powder and double-sided tape. Withe the right color combinations, these can easily turn into a masculine theme, even with a little glittery color.
The final card uses a embossing folder with some embossing powder to create a coppery colored background.
I followed my theme with square shapes to keep it al in the same vein of design.
You will want to cover your workspace with a silicone mat or parchment paper as these techniques may be messy.
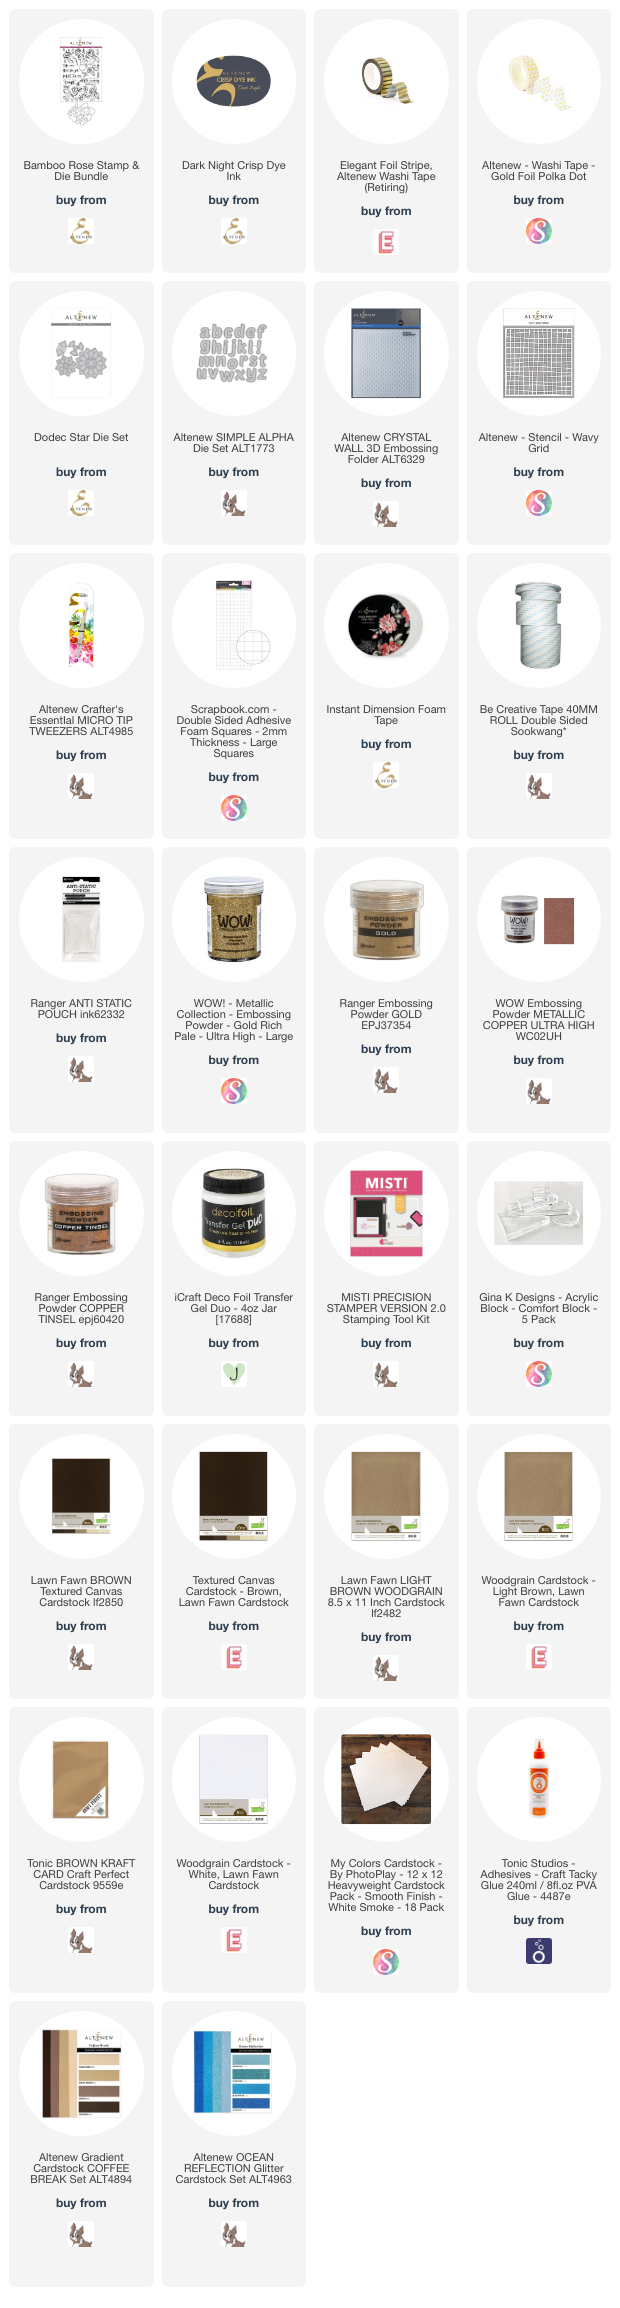
Featured Products And Supplies
.JPG)
.JPG)
.JPG)
.png)

.JPG)
- Altenew Grid Stencil
- Altenew Crystal Wall 3D embossing folder
- Altenew Simple Alpha Die Set
- Altenew Dodec Star Die
- Altenew Gold Foil Polka Dot washi tape
- Altenew Elegant Foil Stripe washi tape
- Altenew Coffee Break Cardstock
- Altenew Ocean Reflection Glitter Cardstock
- Altenew Bamboo Rose stamp set
- Altenew Dark Night Crisp Dye Ink
- White cardstock- 90 lbs. or higher
- Brown cardstock
- Acrylic block or stamping platform
- Duo Gel transfer gel
- Copper embossing powder
- Gold embossing powder
- Metallic embossing paste
- Double sided tape
- Anti static Pouch
- Paper cutter
- Scissors
- Soft clean paint brush
- Foam square dots
- Die cut/embossing machine and plates
- Small craft spatula
- PVA glue
Congrats Card
This card focused on using the grid stencil with embossing paste. I like the clean lines of this card. Combined with a little bit of blue glitter cardstock, it makes a nice statement. To get started for this card, cut the cardstock and glitter cardstock pieces that you will need:
- A card base measuring 5" by 7"
- A piece of light brown cardstock measuring 5" by 7"
- A piece of light brown cardstock that measures 3" by 3.75"
- A piece of light brown cardstock that measures 4" by 4"
- A piece of light brown paper that measures 1" by 4.25"
- A piece of white cardstock measuring 5" by 5 1/2"
- A piece of light blue glitter cardstock that measures 3" by 5"
- A piece of light blue glitter paper that measures 4" y 4"
- A piece of dark brown paper that measures 2.5" by 2.5"
- A piece of white cardstock that measures 4" by 4"
Featured Products And Supplies .JPG)
.JPG)
- Altenew Grid Stencil
- Altenew Simple Alpha Die Set
- Altenew Dodec die set
- Altenew Coffee Break cardstock
- Altenew Ocean Reflection Cardstock
- White cardstock
- Brown cardstock
- Metallic embossing paste
- Craft spatula
- Double sided tape
- Paper cutter
- Foam dots
- Die Cut /embossing machine and plates.
- Start this card with the grid embossed background. Place the piece of white cardstock on your workspace covered with some parchment or a silicon mat. Either use Pixie Spray, mint tape or washi tape to old the stencil in place. Use the spatula to spread the embossing paste over the stencil. Make sure that the paste is spread evenly. Place any left over paste back into the jar and cover it. Carefully lit the stencil. Make sure to wash the stencil and the spaula in warm water and dish detergent right away. Set the piece aside to dry
- Cut the " congrats " letters with the light blue glitter paper. Line them up and glue them on a piece of light brown paper, Set aside.
- Create The die cut piece. Cut the smaller piece from the Dodec die cut set with the light blue glitter paper. Use the 4" by 4" paper to cut the die. Then cut a second die piece with the 4"by 4" light brown paper. (For the light brown paper, you will only be using the inside pieces of the die cut). Trace the die cut outside piece on the white cardstock piece. Fussy cut the piece to crate the base for your embellishment. Glue the glitter die cut piece to the base. Glue all the brown pieces onto the interior of the die cut.
- Assemble the card. Attach the large piece of light brown paper to the card base. Attach the glitter cardstock with glue to the grid base. Attach the light brown piece to the right side of the top of the glitter piece as shown. Attach the dark brown piece to show as a diamond centered to the light brown piece with foam squares. The attach the embellishment to the card with foam dots. Now add the sentiment to the top of the card. (The gem on the embellishment is optional.)
Praying For You Card
.JPG)
This card is super easy and yet it has amazing shine and design. It uses a lot of supplies and tools that you more than likely already have. You could use any sentiment that you may have.
Cardstock Pieces To Cut
- A white card base measuring 5.5" by 6 "
- A piece of medium dark brown cardstock measuring 5.75" by 5 "
- A piece of dark brown cardstock that measures 2.5" by 4"
- A piece of medium brown cardstock that measures 1.75" by 3.5"
- A piece of light cardstock that measures 1 5/8" by 3 1/4 "
- A piece of white cardstock that measures 1" by 3"
- White cardstock that measures 4 1/2" by 5 1/4"
Featured Products And Supplies
.JPG)
- Altenew Coffee Break cardstock
- Light, medium And dark brown cardstock
- Altenew Bamboo Rose sentiment
- Double sided tape
- Foam dots
- Paper cutter
- Scissors
- Misti stamping platform or arylic block
- Altenew Dark Night Crisp Dye Ink
- Anti-static embossing pouch
- Soft clean paint brush
- Copper embossing powder
- Gold embossing powder
- Cut the pieces of cardstock as listed.
- Adhere the piece of dark cardstock to the card base.
- Prepare the background for this card. Use the anti-static pouch over the entire card. Line up and place the stripes as desired on the card with one side of the double-sided tape Make sure to wrap the tape around to the back of the card for a more finished look. For this card, I used a diagonal stripe. Uncover each piece of the double-sided tape. Sprinkle the card with the embossing powder, one strip at a time. Before you heat each powder strip, make sure to brush off any other powder. One by one, remove each strip and heat the powder following the manufacturer's directions and use the heat setting suggested. Set the card piece aside to cool.
- Create the sentiment. Stamp the sentiment and layer each piece as shown using double sided tape. When all the pieces are together, mount them to the center of the card with foam tape or dots.
Feel Better Soon Card
This card once again uses the grid stencil. I have to admit that this is one of my favorite stencils of all time. I wanted to create a card that would make someone smile and I think that this design does just that.
Cardstock Pieces To Cut
- White cardstock that measures 4" by 5.5"
- Light brown cardstock that measures 3.5" by 5"
- White cardstock that measures 3 1/8" by 4 8/10"
- Dark brown paper 1 3/4" by 3 4/8"
- Light brown paper that measures 3/4" by 3 1/2 "
- White cardstock 3" by 5 "
- White cardstock sentiment strip
Featured Products And Supplies
.JPG)
- Altenew Dark Night Crisp Dye Ink
- Altenew Bamboo Rose sentiment
- Altenew Coffee cardstock
- Altenew Grid Stencil
- White cardstock
- Medium brown cardstock
- Duo Gel Transfer Gel
- Gold Embossing powder
- Copper Embossing powder
- Stickles gold glitter glue
- Gold sequins
- Double sided tape
- Heat gun
- Cut cardstock as listed.
- Prepare the background embossed piece on the white 3" by 5 " cardstock. Place the stencil over the cardstock and secure it with Pixie spray, mint tape or washi tape. Spread the duo paste over the stencil. Make sure to spread it evenly. Sprinkle the embossing powder over the duo paste as shown. Do the two copper sides first and then add the gold embossing powder. Tap off any excess powder. Heat the powder with the heat gun as directed by the manufacturer. Set aside to cool.
- Prepare the sentiment. Stamp the sentiment and cut to size. Mount it on the light brown cardstock with double sided tape and then mount that on the dark brown strip. Spread some Stickles with your fingers. Glue the sequins on and add dots of the Stickles. Set aside to dry.
- Assemble the card. Mount the medium brown piece to the card base. Mount the embossed piece on the medium brown cardstock. Mount the sentiment piece to the grid piece with foam tape or dots. Apply some additional Stickles to the edges of the card if desired.
Feel Better Soon Embossing Folder Card
I wanted to show you a second option for a feel better card using an embossing folder and embossing powder. You can see I like to make my cards shine.
Card Stock Pieces To Cut
- White card base 4" by 6"
- Medium brown cardstock 3 1/2" by 5 1/2 "
- White cardstock 3 1/2" by 5 "
- Dark brown cardstock 1 1/2" by 4"
- Medium brown cardstock 1" by 3 3/4"
- Light brown cardstock 3/4" by 3 1/2"
- White cardstock for sentiment
Featured Products And Supplies
.JPG)
- Altenew 3 D Crystal Embossing Folder
- Altenew Dark Night Dye Ink
- Altenew Elegant Foil Striped Washi Tape
- White cardstock
- Embossing ink
- Light brown, medium brown and dark brown cardstock
- Copper embossing powder/ heat gun
- Die cut/ embossing machine with plates.
- Anti-static pouch
- Acrylic block or Misti stamping platform
- Brown matte gems
- Double sided tape
- PVA glue
- Cut all of the card pieces as listed.
- Prepare the embossed background piece on the piece of white cardstock. Place the cardstock in the embossing folder and run through the die cut/embossing machine following the manufacturer's directions for creating a sandwich. Remove the cardstock. Run the antistatic pouch over the cardstock carefully. Run the embossing ink pad over the cardstock by gently tapping it over the cardstock. Apply the embossing powder over the cardstock. Gently tap off the excess. Heat the embossing powder with the heat gun following the manufacturer's directions. Set is aside to cool.
- Create the sentiment. Stamp the sentiment with the crisp dye ink Layer the sentiment pieces as shown using double sided tape.
- Assemble the card. Layer the light brown large piece of cardstock on the top of the card base with double sided tape. On the embossed piece, glue or tape the Foil Striped washi tape. Ceneter the sentiment to the center of the card and adhere it over the tape and to the embossed piece as shown. Flue the matte gems to each side of the sentiment over the washi tape.
Bonus Card-Another Congrats
Here is a bonus card that I decided to show you just for fun. It shows another way that you can use the same products and supplies to create something totally different.
Card Stock Pieces To Cut
- Card base of 4 1/2" by 5 1/2"
- Light brown cardstock of 4 1/2" by 5 1/2 inches
- White cardstock of 4" by 5"
- White cardstock to die cut letters.
Featured Products And Supplies
.JPG)
- Altenew Alpha Die Set
- Altenew Gold Foil Polka Dot Washi Tape
- Light brown paper
- Double sided tape in both thicker and thinner size
- Copper embossing powder
- Gold embossing powder
- Anti-static embossing tape
- Die cut/embossing machine and plates.
- Small soft, clean paint brush.
- PVA glue
- Stickles gold glitter glue
- Cut the cardstock pieces as listed.
- Prepare the embossed piece on the large white cardstock. Run the antistatic pouch over the cardstock. Line and center the pieces of larger double-sided tape on the top and bottom of the cardstock. Make sure to wrap it around the back of the cardstock for a more finished look.Pull off the top of the tape once it is affixed to the cardstock. Use the copper embossing powder on the strips. Tape any excess off the cardstock. Move any stray pieces off with the paint brush. Heat the strips with the heat gun till all the powder is melted. Let it cool for a minute or two. Now place one strip of the thinner double-sided tape across the bottom of the card slightly higher than the wider piece. Pull off the top covering off the tape. Apply the gold embossing powder. Again, clear any stray pieces of embossing powder off the cardstock with the clean paint brush. Heat the strip with the heat gun. Add additional strips as shown until the pattern is complete.
- Die cut the sentiment. Die cut each of the letters of the sentiment three times. Glue each letter together to create a layered look. Then cover the letters with the Stickles. Allow the letters to dry completely.
- Complete the card. Take the embossed piece and glue or tape the polka dot washi tape across the card, wrapping it around the back of the card Glue the die cut letters on the washi tape. Adhere the light brown paper to the base of the card with double sided tape. Ahere the design piece to the brown cardstock.
.png)
- Make sure to cover your workspace with a silicone mat or some parchment paper.
- Keep a piece of copy paper or cardstock folded in half to collect and transfer back any left-over embossing powder back into the jar. Some folks like to use a coffee filter for the same use.
- Embossing powders get messy. I like to keep a link roller handy for clean-up.
- Turn off the fans when you are using embossing powders.
- Always make sure to follow your heat gun directions when using it. Make sure to allow it to cool off before you put it away.
- Make sure to use some tweezers to hold your paper when you are using a heat gun.
- Clean your stencils right after use as well as any other tools that you might have used with them. I like to use Dawn products and some warm water.
We have sure covered a lot in this tutorial. I hope that you have learned some new tricks and tips that will help you create some masculine cards in the near future. As always, we appreciate your thoughts, comments or suggestions. Please leave them in the comments section below.
Happy Crafting! Looking forward to seeing you soon!
Linda

Comments
Post a Comment
We would love to hear your thoughts, ideas, or just say hello. We appreciate your time here today. Thank you for stopping by!