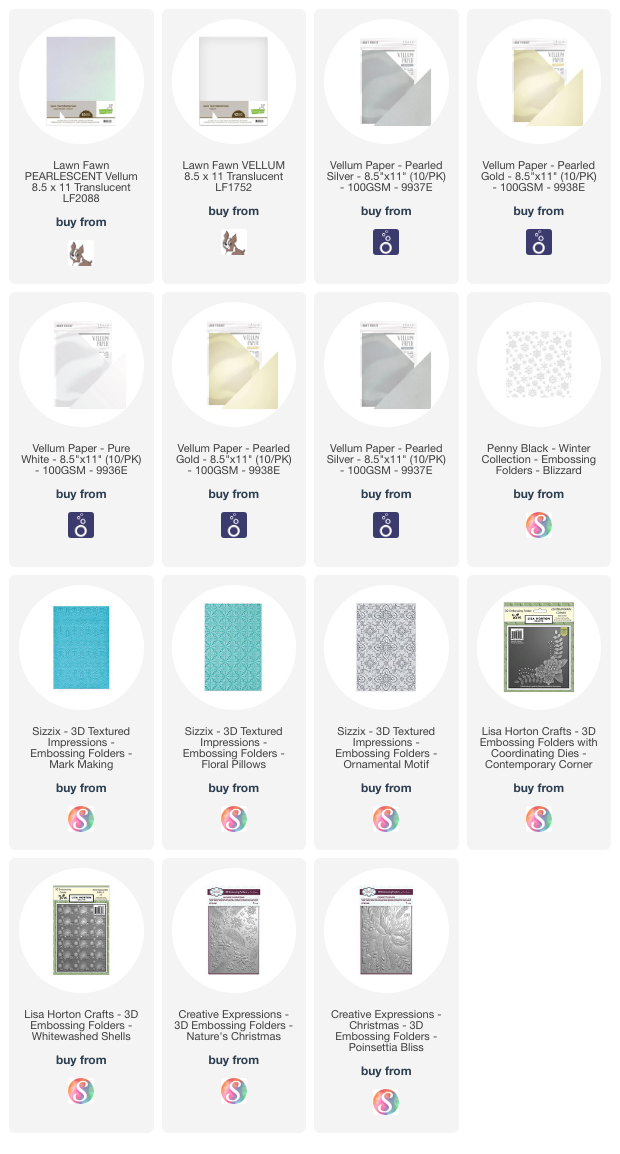
Vellum paper is a very smooth translucent paper. It comes in white as well as multiple colors. True vellum is actually made from calfskin and can be very pricey. Most paper crafters use what ids referred to as man-made vellum, faux vellum or vellum type papers. In the same category of vellum are tracing paper and translucent parchment paper. They will work as well but with somewhat different results when you are embossing.
Just like vellum comes in different sizes it also comes in different weights. For embossing purposes vellum at 32-40 lb. weights should work fine with most embossing folders and embossing machines. The heavier vellum may crack or rip. The packaging on your vellum should be stated on your packaging. If you are searching on the internet, specify the 32-40 lb. weight and you should have no problem finding exactly what you need.
Vellum paper is a very smooth translucent paper. It comes in white as well as multiple colors. True vellum is actually made from calfskin and can be very pricey. Most paper crafters use what ids referred to as man-made vellum, faux vellum or vellum type papers. In the same category of vellum are tracing paper and translucent parchment paper. They will work as well but with somewhat different results when you are embossing.
Understanding Your Embossing Machine
If you already have an embossing machine, you want to make sure that the embossing folder that you purchase will fit in your machine. There are all kinds and sizes of embossing machines and each of them have their own requirements regarding what size and thickness of embossing folders can be used.
I purchased a very large Gemini when they first came out because I knew I wanted the option of using all kinds of folders and dies. But with the smaller and handy versions of embossing machines becoming so popular, there may be some limitations to the size of embossing folders you can use. Make sure to read the size and thickness specifications of your embossing machine. Keep that paperwork handy in your craft space so that you will know that the embossing folder you want to purchase will be useable in your machine.
Embossing The Vellum
There are only a few steps that you need to do to emboss vellum beautifully. Once you get started with the process, you will want to keep going. So, make sure that you have a good supply of vellum handy. It can be very addicting.
Supplies
- Vellum
- Embossing folder
- Embossing Machine
- Scissors or paper trimmer
- Ruler/ Pencil
- Cut your vellum to the size of the embossing folder. Open the embossing folder and place the paper inside of it. Make sure that the paper is straight to the folder and then close the folder.
- Following the manufacturer's directions for your embossing machine, create the sandwich for embossing. (The sandwich is the order of plates and embossing folders for your machine.)
- Run the sandwich through your embossing machine. Never roll the embossing sandwich backwards or through a second time. You may rip or damage the paper.
- Remove the embossing folder from the sandwich and enjoy the design that you made.
Finishing Touches To Your Embossed Design
You can leave your embossed design as is, or you can add some finishing touches to them. It is strictly your choice. Here are some ideas for taking your embossed designs to the next step.
Sanding Embossed Designs
If you want a more rustic look, you can use a very fine grit sandpaper to lightly sand your designs.
Using Ink On Embossed Designs
Another option is to run an ink pad over your embossed designs. That way the ink will be picked up on the raised parts of the embossed paper. Metallic ink will create a lovely metallic feature.
Try Spray Inks
Use a light spray of spray ink on you embossed design. If you want more color spray a second time.
.png)
Vellum Tips
.png)
There are a few different ways to attach vellum to your projects. Since vellum is so sheer, you want to use things that are not visible. Glue dots are the easiest to use. They come in different sizes for your projects.
Wash and dry your hands before handling vellum. You have oils on your hands that may stain the vellum.
.png)

We hope that you will give vellum embossing a try. It is so much fun! You can use these designed papers on greeting cards, journals and altered books.
Until Next time, Happy Crafting!
Linda


Comments
Post a Comment
We would love to hear your thoughts, ideas, or just say hello. We appreciate your time here today. Thank you for stopping by!