
Scene Building Greeting Card


Create something different with your stamps and dies

 
Have you ever considered creating scenes with the stamps and dies that you have in your stash? Today we are exploring some different ideas to use the stamps and dies that you have to create something totally different.

As I move forward with the Altenew Educator Program, this concept was an idea that I had not considered in the past. But one that I will be using in the future.

Some stamp and die sets by subject matter are prefect for scene building. If you think of animals and garden stamps to create a scene, you will find some new inspiration for scene building greeting cards.
Another thing that I like about creating scenes is that they give you the opportunity to create cards that would be appropriate for the guys too.

For my cards, I used the Altenew Succulent set to create a scene that reminded me of the plants in my Florida room. This scene was so easy to create and uses different techniques to build a card with dimension and lots of color. In this case, I used alcohol markers to color my plants. You will want to use a pigment ink with alcohol markers, otherwise, you will get the outline running all over the place. You will have a mess on your hands. 

You could also use colored pencils to color the images as well as alcohol markers. Stay in the same color family for the best results.

I used a set of nesting dies to create a window and a frame for my card that measures 5" by 7". When you cut out your window, you will be left with a nice die cut piece that you can use for another project. Once I cut the window, I used an embossing folder to add dimension to the front of the card. Make sure to poke all the little bits from the frame.

You could use a smaller card and use two plants instead of three.

Because I created a window for my card, I needed a backing to create the space where my plants would sit. I had some paper that looked like wood, but you could use any brown paper you might have. Another tip is to create This kind of scene is to use printed cardstock with small patterns to create "wallpaper" for your walls. So, use a piece of 5" by 7" paper as your background base. Then measure your paper and adhere it to the paper base.

The other thing that I did was too fussy cut the individual plants to give them more detail and dimension. Two of the plants I adhered to the background. One of the plants I added to the scene by using foam pieces to bring it forward. I chose to decorate the frame a bit. But you could leave it just as it is


A more masculine scene card
On my second card, I used a different embossing folder. on darker paper. I wanted a distressed look, so I used a sandpaper block on the embossed paper. I chose to leave the background plain to help make the plants the star of the project. In this case, I used colored pencils to color the plants. You can use any black ink for colored pencils to get your outlines. I also used some gamsol to smooth the colored pencil images.

You could use alcohol markers, colored pencils and even watercolors. If you use watercolors make sure to use a pigment ink to stamp your pieces.

I hope that you will look at your stamps in a new light. And if you do not have any stamps to create some scenes, we have suggested a few at the bottom of this post.

Creating scenes is fun and will inspire you to stretch into new techniques and opportunities to wow the folks that you love to send cards to!


Thanks for following me on my Altenew journey. We look forward to sharing some new ideas in the near future.


Happy Crafting! See you soon!

Linda 


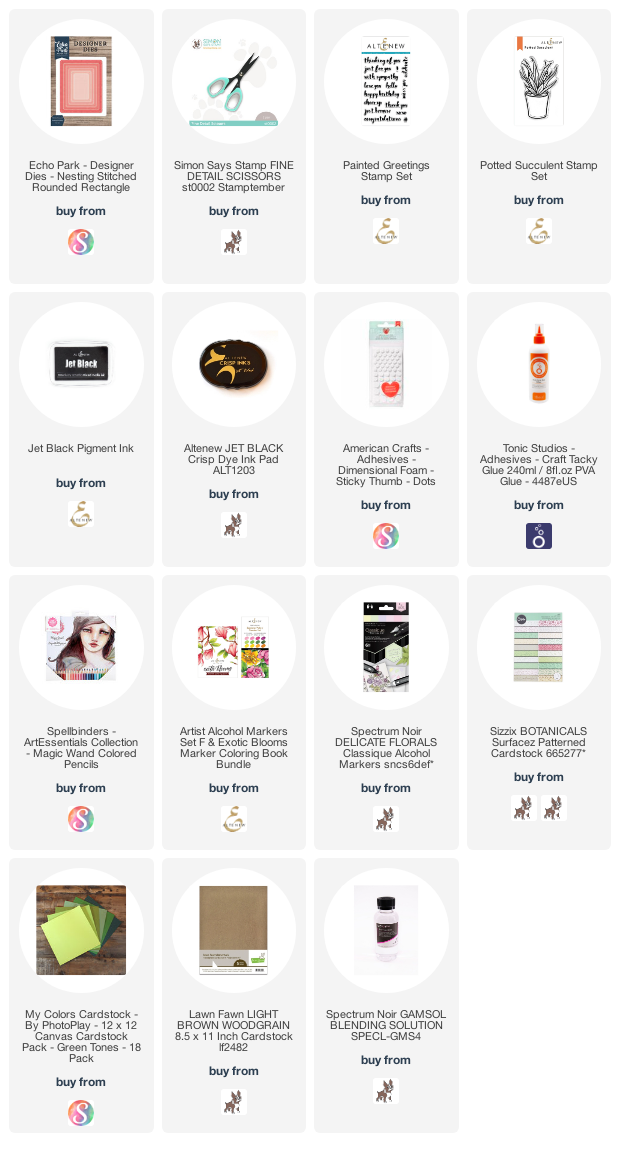
Supplies Used For This Project

Comments

  1. This is beautiful, Linda!! Your cards are gorgeous! Top job!

    ReplyDelete

Post a Comment

We would love to hear your thoughts, ideas, or just say hello. We appreciate your time here today. Thank you for stopping by!

Popular posts from this blog

Beyond Basic Backgrounds

Today we are exploring back grounds for greeting cards using stamps and coordinating dies with embossing powders to create a totally different look. Welcome to another community tutorial as I take my journey through the Altenew Educator Class. I have to say that I love the soft look of these greeting cards.  For this technique you will need a stamp set with the coordinating dies. You will actually create a stencil using the dies for the image that you are using on your background. To create this stencil, you will want to use a heavy white cardstock, at least 90 Lbs. or more. That way, you will be able to use the stencil again. You also will want to make the stencil a bit larger than the actual card base. Overlapping will give you the best results. Creating The Stencil Supplies White cardstock at least 90 lbs. in weight Coordinating die for the stamp you are using. Low tack tape Die cutting machine and plates. Cut the piece of cardstock slightly bigger than the card base you will be...

What It Takes To Create An Advanced Ink Layering Technique

Today we are sharing with you some advanced ideas and techniques in ink layering. We are also sharing some additional ideas to help you take your greeting cards to the next level. We are featuring a new tutorial as part of my Level Three accreditation in the AECP (Altenew Educator Certification Program). This is a program that I have been working through for some time. My goal has been to be able to learn and share with you the best ideas and techniques to help you be the best paper crafter you can be.  There are actually 5 levels of layering classes in this program. The project that I am focusing on is a more intricate stamp set called. Climbing Clematis.  There are actually 6 layers to the main flowers and several layers to each of the coordinating flowers. The coordinating flowers add a natural touch to the design.  Here are some of the techniques that I am focusing on for this tutorial: All About Layering 1-5 All About Layering Dies Edition Layering Guides Layering gu...

Create Metallic Stripped Card-Everything You Need To Know

  Have you ever considered using metallic embossing powders in an entirely different way to create a custom card that will long be treasured by the recipient of this wonderful art form? I was super impressed by this technique in a recent class that I took at Altenew on Progressive Card Making. I have always enjoyed using embossing powders. Using them has been a passion of mine. As you see the powder heat up, and the magic happen, it brings joy to your papercrafts. I made three thinking of you cards and one thanks card. But honestly, you could use any large sentiment die that you have for this technique.   One Note Before We Get Started It is often said that "quality matters!" In this particular technique, it actually does! I tried different metallic embossing powders from different sources. and the one that worked the best was from Altenew. I did get better results with the antique metallic powders than I did from others in my stash, The closest to quality was the Wow embossi...