Gratitude Journal Basics


Every new year starts with a clean slate and new beginnings. Part of that new beginning for you in 2021 can be the start of a gratitude journal. Keeping a gratitude journal has been proven to have very positive effects on your life. It fills your heart and soul with positive energy. It focuses for a few minutes a day on what is right in your life rather than what is wrong. It focuses on your blessings. It helps you keep calmer, more fulfilled and more centered.

We are all challenged every day with a world full of negativity and sadness. Focusing on what we are grateful for, helps us create a calmer space around us.

Involve your kids! Ask them to draw something that they are grateful for! Then sit down and spend some time with them discussing it. 

Create a family Gratitude Jar! Decorate a large jar. Leave pens and paper so that anyone can fill in something they are grateful for!

You can start your gratitude journal with things around your home or for under $5.00. You need very little to get started and no crafting skills at all! This is one of the simplest paper crafts to begin.

Try to get into the habit of doing your journal daily. Some folks like to start out at the beginning of the day to get their day off on the right foot. Others like to end their day by gratitude journaling. That way they go to bed calm and relaxed. You only need about 15 minutes a day and the results more than pay for the time used.

There are gratitude journals that you can purchase all decorated and with prompts in them. At the bottom of this post, we have listed several resources where you can get free printable sheets that you can put into a loose-leaf binder. The other option is to get an inexpensive journal at your local dollar or discount store.

Before you even get started with your gratitude journal, think about things that you can do to enhance your experience.  You might consider lighting a scented candle, playing some music-create your own playlist, say a prayer, meditate, drink a cup of tea. Create a ritual that is a constant just to go with your gratitude journal. It will make this time that you spend on yourself more enriching. 

Getting Started With Gratitude Journaling

  1. Pick out a notebook blank or lined to journal in. It can be ruled or not. You can use a common ruled notebook or one of the composition books, It can be pages that you print from your computer and bind or place in a binder. It is all up to your personal preferences.
  2. Personalize your notebook. If you don't like the cover, be creative and decorate it. Use washi tape, decoupage it. Use images or phrases that inspire you. Laminate it with clear packing tape. Be as creative as you want.
  3. Write your name and the title of your journal on the first page. It can be something as simple as My Gratitude Journal or My Gratitude Journey. Do some drawing or doodling on your page. Make it your own.
  4. Write prompts on the top of each page. You can date your pages if you would like. Prompts just help you focus on one aspect of your life that you are grateful for,
  5. Decorate your pages. Free to bring your inner artistic self out. This is your book for you. No one will judge or be critical. Feel and explore your creative side.
  6. Set aside someplace special to work on your gratitude journal. It could be outdoors, a special chair or just relaxing on your bed. Find someplace quiet where you can relax and relate.
You do not have to write a book every time that you journal. It could be a picture or a quote that expresses how you are feeling. One paragraph can speak more than a whole chapter. Aim for quality over quantity. 

Adding Personal Touches To Your Gratitude Journal

Your gratitude journal does have to be just in writing. It can also include your personal touches. Add art to your journal, be creative! Not only does your journal need to be an outlet for your thoughts, but it can be an expressive place for your feelings too.

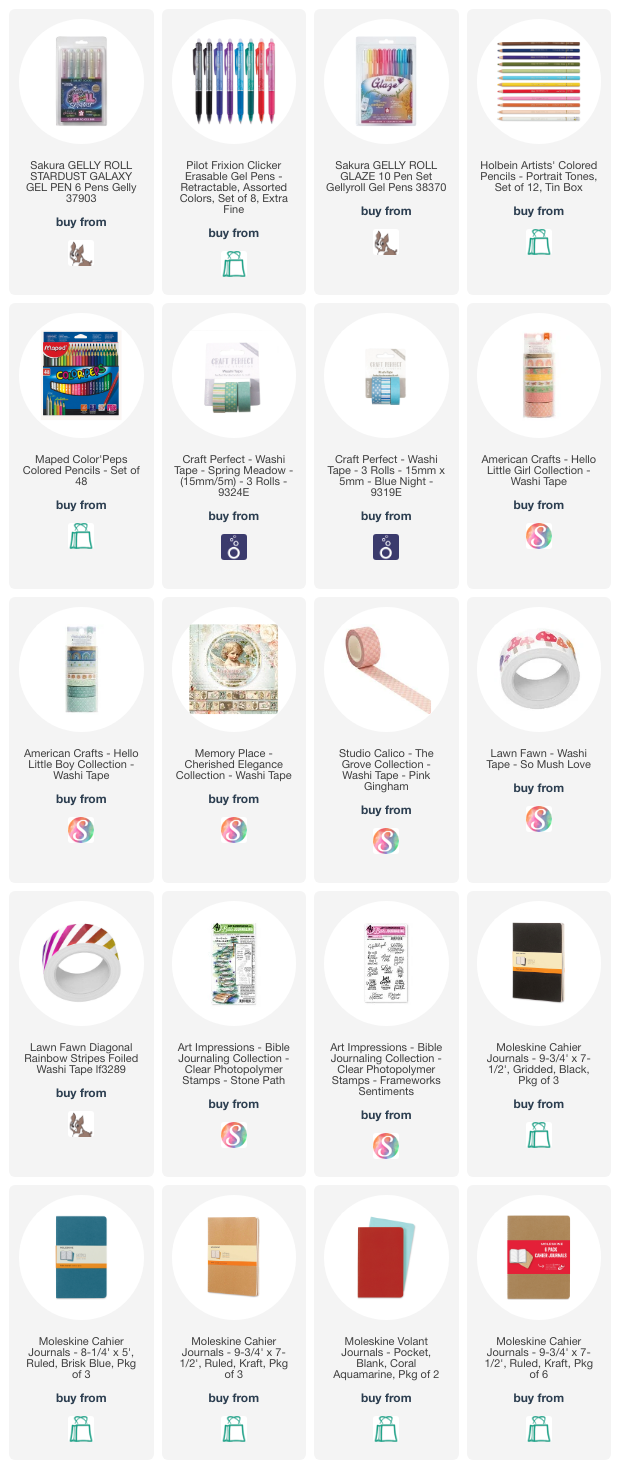
  • Use washi tape along the edges of each page to add more color.
  • Use gel pens and other colored pens to add color to each page.
  • Use stamps and stickers to add dimension to your pages,
  • Add pictures and images from the internet and magazines.
  • Use art journaling techniques on your pages.


How Often Should You Work On Your Gratitude Journal?


Like a lot of resolutions we make, we start out meaning to create good new habits and then as the months go on, our priorities outweigh the time we need to take for ourselves. Doing your gratitude journal everyday will cultivate the habit and over time, it will become a treasured part of your day. 

But if you find daily journaling is just too much for you, then aim for a weekly entry. Aim for the weekend when you are bound to have at least 15 minutes to claim for yourself.


Have A Hard Time Doing A Gratitude Journal?

Keeping it simple will help you get into the habit of doing a gratitude journal. Each day write one thing that you are grateful for. Then write 5 reasons that you are grateful for that thing. Keeping it simple will help get you into the habit of doing this journal often.


Gratitude Journal Prompts


Gratitude Journaling On Pinterest

We hope that you will give gratitude journaling a try. The benefits of keeping one will bring positive changes in your life, 


Till next time, Happy Crafting!

Linda


Comments

Popular posts from this blog

Beyond Basic Backgrounds

Today we are exploring back grounds for greeting cards using stamps and coordinating dies with embossing powders to create a totally different look. Welcome to another community tutorial as I take my journey through the Altenew Educator Class. I have to say that I love the soft look of these greeting cards.  For this technique you will need a stamp set with the coordinating dies. You will actually create a stencil using the dies for the image that you are using on your background. To create this stencil, you will want to use a heavy white cardstock, at least 90 Lbs. or more. That way, you will be able to use the stencil again. You also will want to make the stencil a bit larger than the actual card base. Overlapping will give you the best results. Creating The Stencil Supplies White cardstock at least 90 lbs. in weight Coordinating die for the stamp you are using. Low tack tape Die cutting machine and plates. Cut the piece of cardstock slightly bigger than the card base you will be usi

What It Takes To Create An Advanced Ink Layering Technique

Today we are sharing with you some advanced ideas and techniques in ink layering. We are also sharing some additional ideas to help you take your greeting cards to the next level. We are featuring a new tutorial as part of my Level Three accreditation in the AECP (Altenew Educator Certification Program). This is a program that I have been working through for some time. My goal has been to be able to learn and share with you the best ideas and techniques to help you be the best paper crafter you can be.  There are actually 5 levels of layering classes in this program. The project that I am focusing on is a more intricate stamp set called. Climbing Clematis.  There are actually 6 layers to the main flowers and several layers to each of the coordinating flowers. The coordinating flowers add a natural touch to the design.  Here are some of the techniques that I am focusing on for this tutorial: All About Layering 1-5 All About Layering Dies Edition Layering Guides Layering guides are an es

Cute Unicorn Card

  Today I need to create a bright and cheerful birthday card for my great granddaughter who is turning three. I wanted something that would express her great grandpa's and my love for her. We also wanted something that would catch her attention. The stamp set was one that I got from a magazine. It was one of those sets that often is included when you get stamping magazines. So, I am unable to identify it. It also had the hearts, flowers and a mouse and dolphin (more about the dolphin on another day. The set also had some dies for the animals, but not for the flowers. Supplies Ninah white cardstock base 6" by 6" Pink cardstock Detail scissors Pencil Deep pink organza ribbon Double sided tape White clear tacky glue White PVA glue Metallic markers Light grey alcohol marker Red glitter glue White Pop Dots Blue Pop Dots Altenew Crisp Black Crisp Dye Ink Altenew Heart Beat Crisp Dye Ink Altenew Deep Iris Crisp Dye Ink Altenew Honey Drizzle Crisp Dye Ink Altnew Puffy Heart Crisp