
Ribbon Flowers For Scrapbook Pages


Ribbon flowers are easy to make and fun to use


You can create ribbon flowers in any pattern or colors with just a few minutes of craft time. Most of the supplies for this project are readily available if you do not have them, You can mix up the colors and patterns. You can use lots of different kinds of ribbon to change up the look of your flowers.
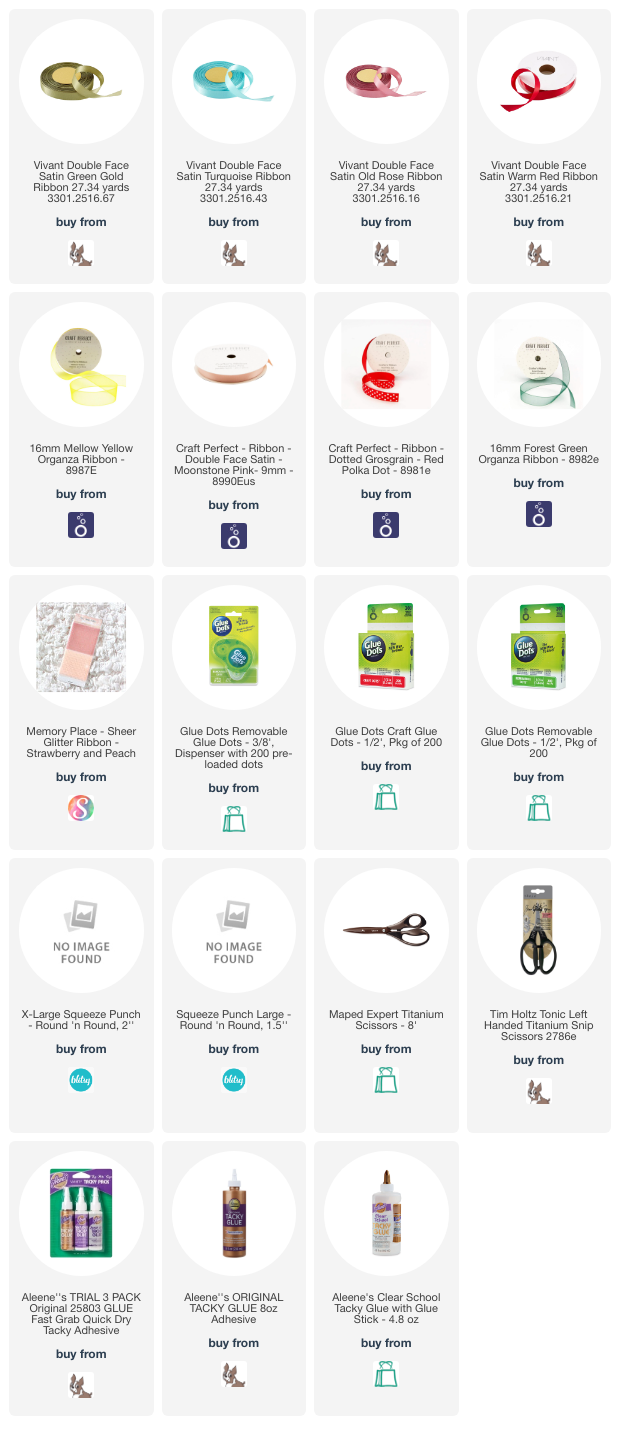

Supplies

  • Ribbon cut in lengths of 2 1/2 inches -need 8
  • Ribbon cut in lengths of 2 inches-need 8
  • 1" and 2" round craft punch
  • Scissors
  • Glue dots
  • Buttons
  • Tacky Glue
  • Cardstock
  1. Fold each length of ribbon in half. 
  2. Apply a glue dot to hold the folded ribbon together.
  3. Cut a circle of cardstock in 4inch diameter
  4. Take the larger folds of ribbon and apply them to the circle with glue dots
First layer of ribbon applied


  • Apply them all around the circle.
  • Apply the smaller folded ribbon circles on top of the larger pieces with glue dots.
  • Alternate the pieces around in the circle.
Second layer of ribbon loops applied.


  • Apply the button on top of the ribbon pieces.
  • Secure the button with the tacky glue!
  • Allow the glue to dry.
More examples of ribbon flowers


  • The number of pieces of ribbon will depend on the width of the ribbon used.
  • Use a large enough piece of glue dots so that the ribbon will hold together.
  • Different widths of ribbon will create different sized flowers.


We hope that you will use some ribbon to create some ribbon flowers for your next scrapbook page. Once you get started with these you will want to make more of them. 
Till next time, Happy Crafting!

Linda


Comments

Popular posts from this blog

Cute Unicorn Card

  Today I need to create a bright and cheerful birthday card for my great granddaughter who is turning three. I wanted something that would express her great grandpa's and my love for her. We also wanted something that would catch her attention. The stamp set was one that I got from a magazine. It was one of those sets that often is included when you get stamping magazines. So, I am unable to identify it. It also had the hearts, flowers and a mouse and dolphin (more about the dolphin on another day. The set also had some dies for the animals, but not for the flowers. Supplies Ninah white cardstock base 6" by 6" Pink cardstock Detail scissors Pencil Deep pink organza ribbon Double sided tape White clear tacky glue White PVA glue Metallic markers Light grey alcohol marker Red glitter glue White Pop Dots Blue Pop Dots Altenew Crisp Black Crisp Dye Ink Altenew Heart Beat Crisp Dye Ink Altenew Deep Iris Crisp Dye Ink Altenew Honey Drizzle Crisp Dye Ink Altnew Puffy Heart Crisp...

Beyond Basic Backgrounds

Today we are exploring back grounds for greeting cards using stamps and coordinating dies with embossing powders to create a totally different look. Welcome to another community tutorial as I take my journey through the Altenew Educator Class. I have to say that I love the soft look of these greeting cards.  For this technique you will need a stamp set with the coordinating dies. You will actually create a stencil using the dies for the image that you are using on your background. To create this stencil, you will want to use a heavy white cardstock, at least 90 Lbs. or more. That way, you will be able to use the stencil again. You also will want to make the stencil a bit larger than the actual card base. Overlapping will give you the best results. Creating The Stencil Supplies White cardstock at least 90 lbs. in weight Coordinating die for the stamp you are using. Low tack tape Die cutting machine and plates. Cut the piece of cardstock slightly bigger than the card base you will be...

Make Gilding Wax-DIY

  Gilding wax is a creamy, metallic wax used in crafting and decorative arts to add a rich, shimmering finish—typically to raised surfaces, edges, or textured details. It mimics the look of metal leaf or gold leaf , giving projects a luxurious or vintage touch. Gilding Wax Features Comes in metallic colors (gold, silver, bronze, copper, pewter, etc.) Has a soft, buttery texture Can be applied with fingers, brushes, or cloth Dries quickly and buffs to a shine Works on many surfaces: wood, paper, metal, resin, canvas, embossed paper, and more You can apply it to a number of surfaces including: Cardboard Leather Paper Plastic Wood Glass  Ceramics Metal There are a couple of different products that can create the gilded look to your crafts. Both gilding wax and gilding paste do the same thein in the end.  Gilding paste takes about one hour to dry. Gilding wax takes about 4 hours to dry. But in my opinion, the gilding wax gives a richer look. So today we are showing you a way...