
12" by 12" solid and patterned papers in paper and pads
Specialty papers in both of the above sizes
6" by 6" paper and pads
9" by 13" paper and pads
Scraps in all sizes
Water color paper
Supplies You Need
- The first thing to get done is to sort your solid paper by color. For now, just do the main colors. You can sort different color tones later. Set aside your scraps but sort them into colors too.
- Sort through your printed paper and sort by color. If the paper has too many colors, just sort it the way that you see it.
- Again, sort your printed scraps by color. Only keep what you think you will need and throw away the rest.
- Really be critical for this step, As you are sorting each piece of paper, really decide if you see yourself using that paper in the future. I know that I had some pretty ugly paper that I needed to get rid of.
- Decide how much of your scrap paper that you want to keep. I know none us wants to part with any of those bits. But you really need to purge the stuff that you know you won;t honestly use.
- Get out those gallon zip lock bags. I wound up using a couple of boxes. One bag per color. You can store your printed paper with the same color solid for now.
- If you have a system in place for your paper storage just arrange the colors any way that is pleasing to you. Otherwise, just put the bags aside until you decide the best system for you.
- Purchase the products that you need to set up your system and enjoy the results !
The Rolling System
Horizontal Systems
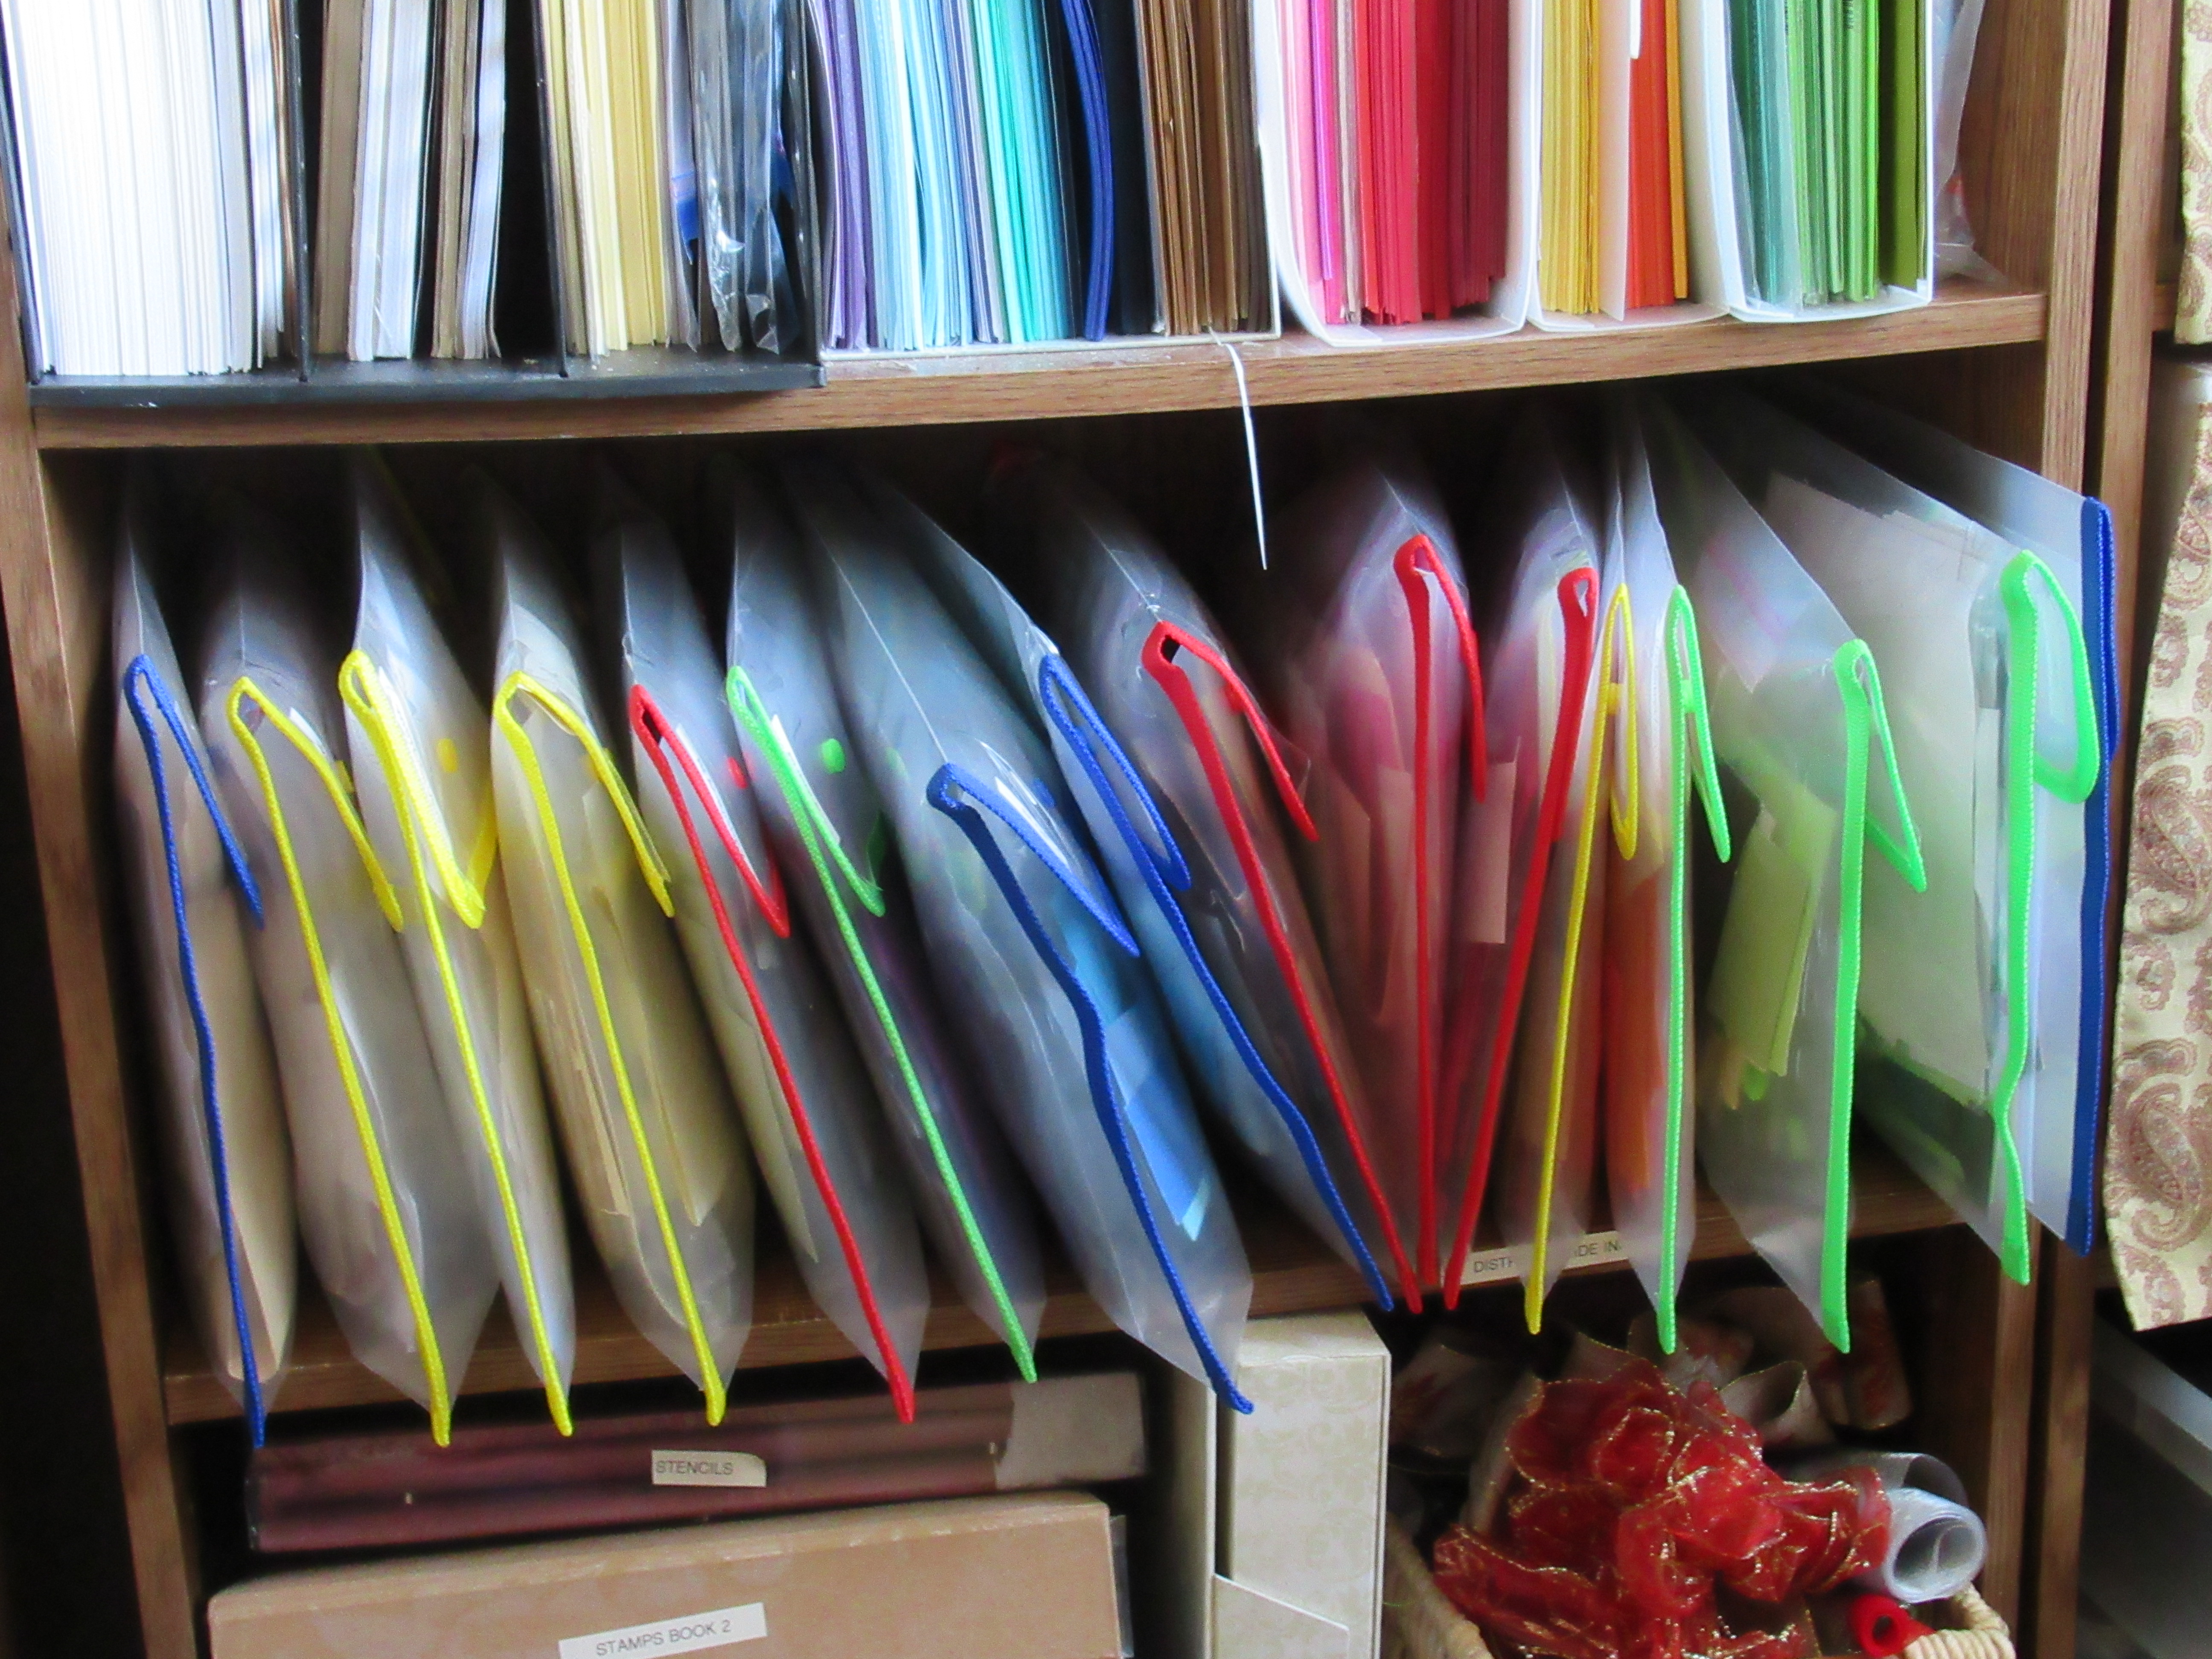
The vertical system is a stacked system that can have a single slot or multiple slots. It can be on the floor or on a desk. The This is perfect for a small space or corner where you need to use the vertical height of the space. They can be closed units like drawers or open units with slots. They can be plastic or wood. They are also called the paper tower. Some of these units are on wheels which enable them to be moved around in a room.
Wire racks are another alternative. They may not be pretty, but you can use space on a wall that might be available.
Another option in the vertical system is to use a hanging sweater organizer in a closet to store your paper. This option is great for people will small paper collections and lots of closet space. Would also be good for those with larger paper pad collections.
If you can find them, clean pizza boxes offer another option. They can be stacked vertically. You can also decorate them to your liking.
Another idea is to use the flat rate boxes that you can get for free at the post office. Put them together and cut off one end. They say priority mail. Stack them as high as you need to. Use duct tape to hold them together. Cover them with paper and you have a custom made paper storage unit.
Make Your Own Vertical Paper Tower
Vertical Systems

Storing Scrap
Those zip lock storage bags are a perfect way to sort and seal your scraps. They are reasonably priced, and you will not have a lot of bits of paper floating about your space. I found some clear plastic storage bags that were letter size at Miles Kimble. They have two snaps at the top and I am able to get a lot of scraps into them. I line them up the same way that I have my colors.
I , myself tend to be a scrap hoarder. Though I keep them tidy, they do tend to grow on their own. Some folks like to minimize their scraps by only keeping photo sized paper. That gives them options to store them in neat little plastic photo boxes.
.png)


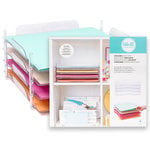
We R Memory Keepers - Expandable Paper Storage - $9.49
from: Scrapbook.com
We R Memory Keepers - Stack and Nest Paper Trays - 4 Pack - $28.49
from: Scrapbook.com

Storage Studios - Heavy Duty File Shuttle Two - Black - $64.73
from: Scrapbook.com

Advantus - Storage Studios - Projections - 12 x 12 Paper Holder - $19.49
from: Scrapbook.com
 Cropper Hopper - 12 x 12 Clear Paper Organizer - $5.84 Cropper Hopper - 12 x 12 Clear Paper Organizer |

Storage Studios - Easy Access Paper Holder - $21.44
from: Scrapbook.com
Comments
Post a Comment
We would love to hear your thoughts, ideas, or just say hello. We appreciate your time here today. Thank you for stopping by!