Welcome to another technique tutorial as I go through my Altenew Educator classes. One of the best parts of attending these educational classes is having the opportunity of sharing what I have learned with you.
Today we are focusing on creating lovely watercolor backgrounds to compliment the colors of the embellishments. I will also share some ideas to help you create some lovely pieces that will take your cards to the next level.
I am using the Totally Tropical Stamp set from Altenew. I love this stamp and die set. It has a really tropical feel, Since I live in Florida and grow hibiscus, it is a perfect set for my everyday use. But it is also a great set for anyone who want s a tropical feel. It would ne perfect for scrapbooks and journals if you have travelled to any tropical climate.
Tropical Card 1-Huge Congratulations
This card was designed to express congrats for a very special achievement. While it was done in soft pink colors, it could be done in any colors that you would prefer. Use deeper colors if you would like to use it for a masculine card. Deep blues or orange tones would work. Any combination of colors works for this design. Keep it in the same color family or use contrasting colors. It is up to you!

Supplies Used:
Craft or Silicne mat
Altenew Totally Tropical Stamp Set
White Cardstock
Black Cardstock
Spectrum Noir Alcohol Markers
Rubbing Alcohol in a spritzer bottle
Brayer
Altenew Puffy Hearts Crisp Ink
Altenew Black Crisp Ink
Butterfly Sticker
Clear Gems
Acrylic Block
Clear PVA Glue
Double Sided Tape
Creating The Background
The background for this card is easy and fun to create. You need to do this technique quickly before the ink dries.
- Lay the mat to cover your surface.
- Choose an alcohol and scribble the marker on your mat.
- Spritz the rubbing alcohol on the marker.
- Run the brayer through the ink .
- Then run the brayer across your piece of matte cardstock.
- You can do this as many times as you would like until you get the desired effect. You will want to go the same direction every time.
- Set it aside to dry.
Finishing The Card
- Cut the card base to a size of 4.5 " by 6 ".
- Cut the black cardstock to the same size.
- Cut the background piece to size. I cut mine to 4" by 5.5".
- Piece of white cardstock 2 3/4" by 6 inches.
- Stamp the flowers and leaves with the black ink. Let them dry.
- Color the flowers with two alcohol markers that are in the same color family. Color them first with the lighter color. Then Use the next darker color to outline and color both the edges and the inside of the flower. Then use the lighter color to blend the colors together.
- Do the same with the leaves
- Die cut or fussy cut all of the leaves and flowers.
- Once dry give them a little dimension by manipulating them with your fingers to make them look more realistic.
- Use a alcohol marker to add color to the butterfly sticker. Give it several hours to dry.
- Stamp the sentiment onto a piece of white cardstock.
- Once the sentiment is dry, Edge the sentiment with the edge of the ink pad.
- Touch the edge with the ink pad to create more color.
- Using the double sided tape attach the black cardstock to the card base. Attach the background piece to the back base. Then attach the rectangular piece of white cardstock centered to the card.
- Arrange all the leaves and flowers on top of the card.
- Glue the leaves on first. Then add the flowers. Tuck in the butterfly.
- Use double sided tape to add the sentiment.
- Add the clear gems.
- Congratulate yourself on a job well done.
Tropical Card 2-Congratulations
.JPG)
I added a little border piece and a die cut sentiment.
The butterflies had some glitter glue added to add more glitter to the card. I also added some black glitter glue to give the butterflies some bodies.
The card measurements were the same.

So which card do you like better? As always, we appreciate your comments, thoughts and suggestions. I hope that this is a technique that you will give a try.

Project Tips
- Make sure your project isn't too close to your palette when spritzing the sprays to prevent splatter from getting on your images.
- Soften the layers of watercolor by blending the edges with water.

Thank you for following our journey and sharing our experience. We appreciate you more than you know.
Till next time, Happy Crafting!
Linda

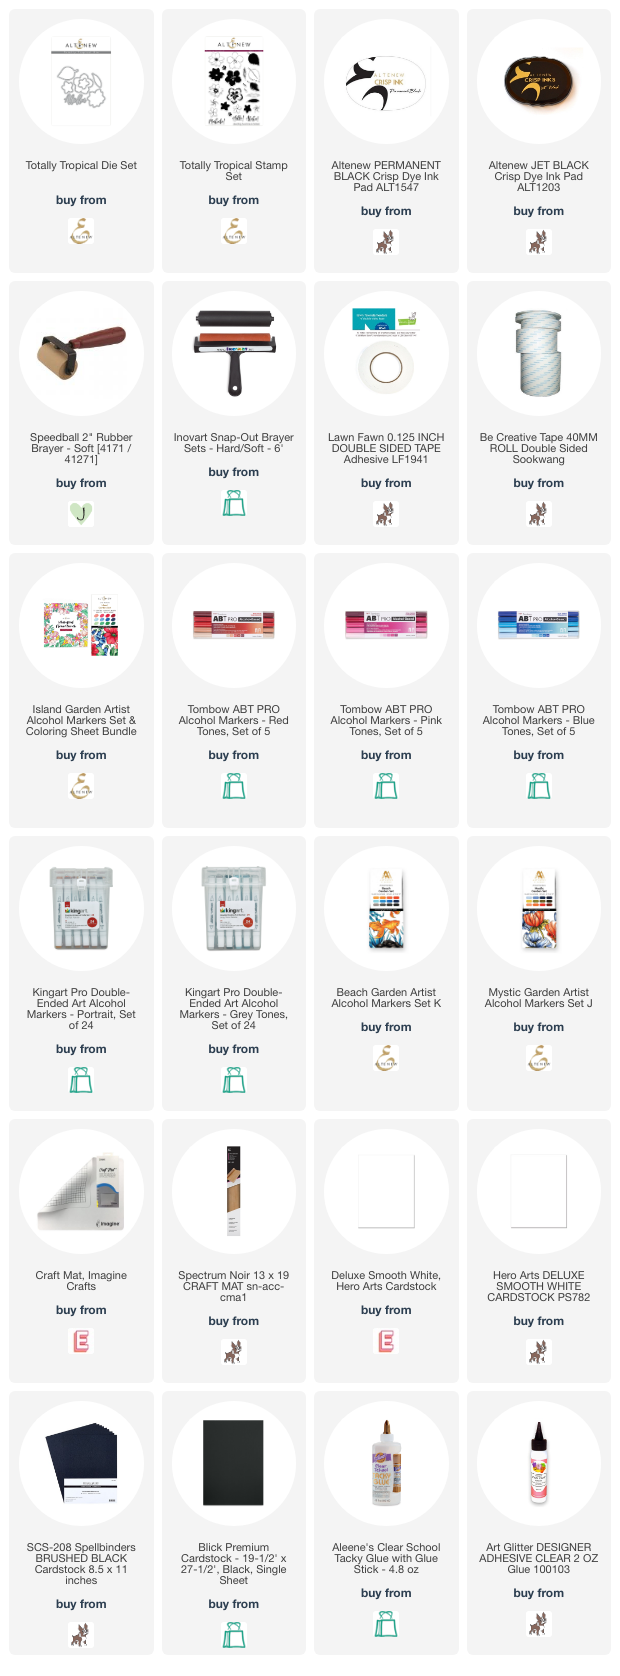
Supplies To Help You Create This Project