Artist playing cards are a fun recycling project that is fun to make and trade. We all have those decks of cards laying around our homes. Why not take them out and get creative with them? It just takes a few supplies to create a custom artist trading card. More than likely you already have these in your stash.
Supplies
- Several clean playing cards.
- Double-sided tape or glue
- Ribbon (optional)
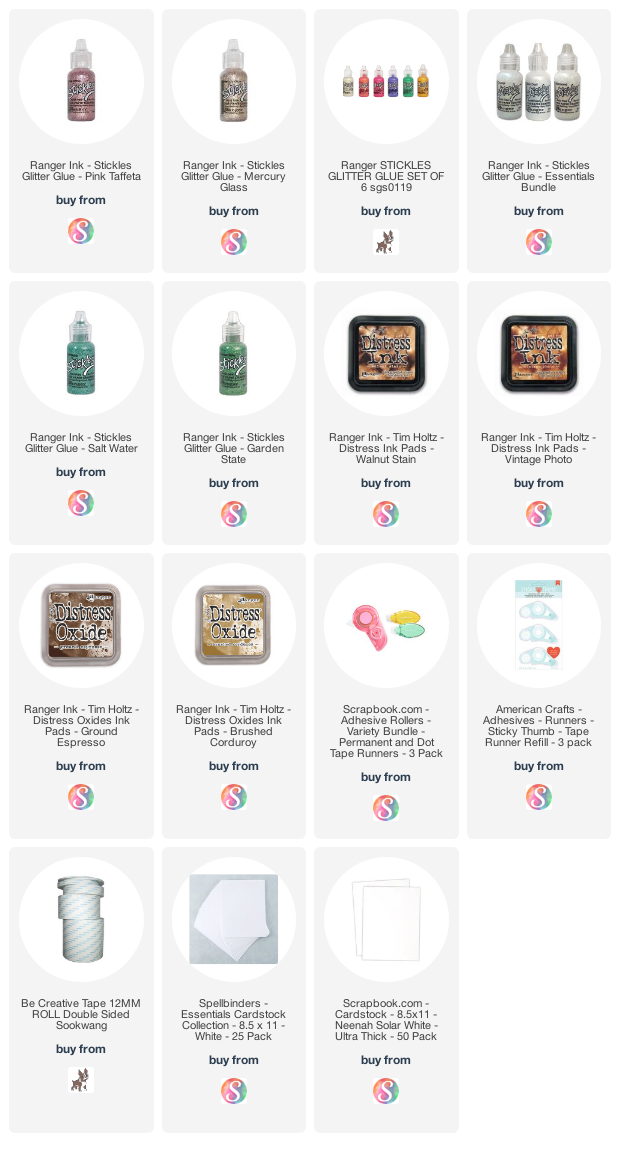
- Tea Stain or Walnut distress ink oxides
- Printed cardstock
- Water mister
- Paper towels
- Neuvo drops.
- Sparkle pens (optional
- Since the playing cards were thin, I started by adhering to two playing cards together. Use strips of double-sided tape and match the edges so that they are even.
- Allow the cards to dry if you used glue.
- Adhere the design piece to the front of the card with double-sided tape.
- If you are planning to add ribbon, adhere the ribbon to the front of the card with the double-sided tape. before you adhere the card to the playing card,
- Rub the edges of the card with either the tea stain or walnut ink.
- Very lightly spray the card with a water mister. Hold the card at a distance while you spray. Allow ink to saturate the card a bit. If there is too much water on your card, dab it with a paper towel.
- Allow the card to dry.
- Embellish the card with the Nuvo drops or the half beads using tacky glue.
- Allow the cards to dry overnight.
- Cut backing pieces for the cards,
- Adhere the backing to the cards.
- Rub some additional ink oxide ink around the card.
- Allow the ink to dry.
- You can use sparkle ink pens to highlight the parts of the cards.
One of the things that I realized was that for me, using the glue to adhere the playing cards together was a messy procedure. The cards slid all over. I went to the double-sided tape and had better results.

I hope that you give this project a try! Happy Crafting!
Linda
.png)